It seemed impossible to garden when we moved into our north-facing, second-story apartment. Fortunately, I was able to find a spot on our deck that got some sunshine in the afternoon. My next challenge was how to keep my 16 month old from digging in the dirt and pulling up all the plants?! My solution: create a hanging herb garden and get the pots up high. I had seen some hanging tomato bags at the garden store but I just thought that green plastic was so ugly. Inspired though, I came up with my own planter that had a prettier look with painted burlap and jute.
This is my hanging burlap planter and below is the sewing tutorial for you to create your own hanging herb garden, great for small spaces!
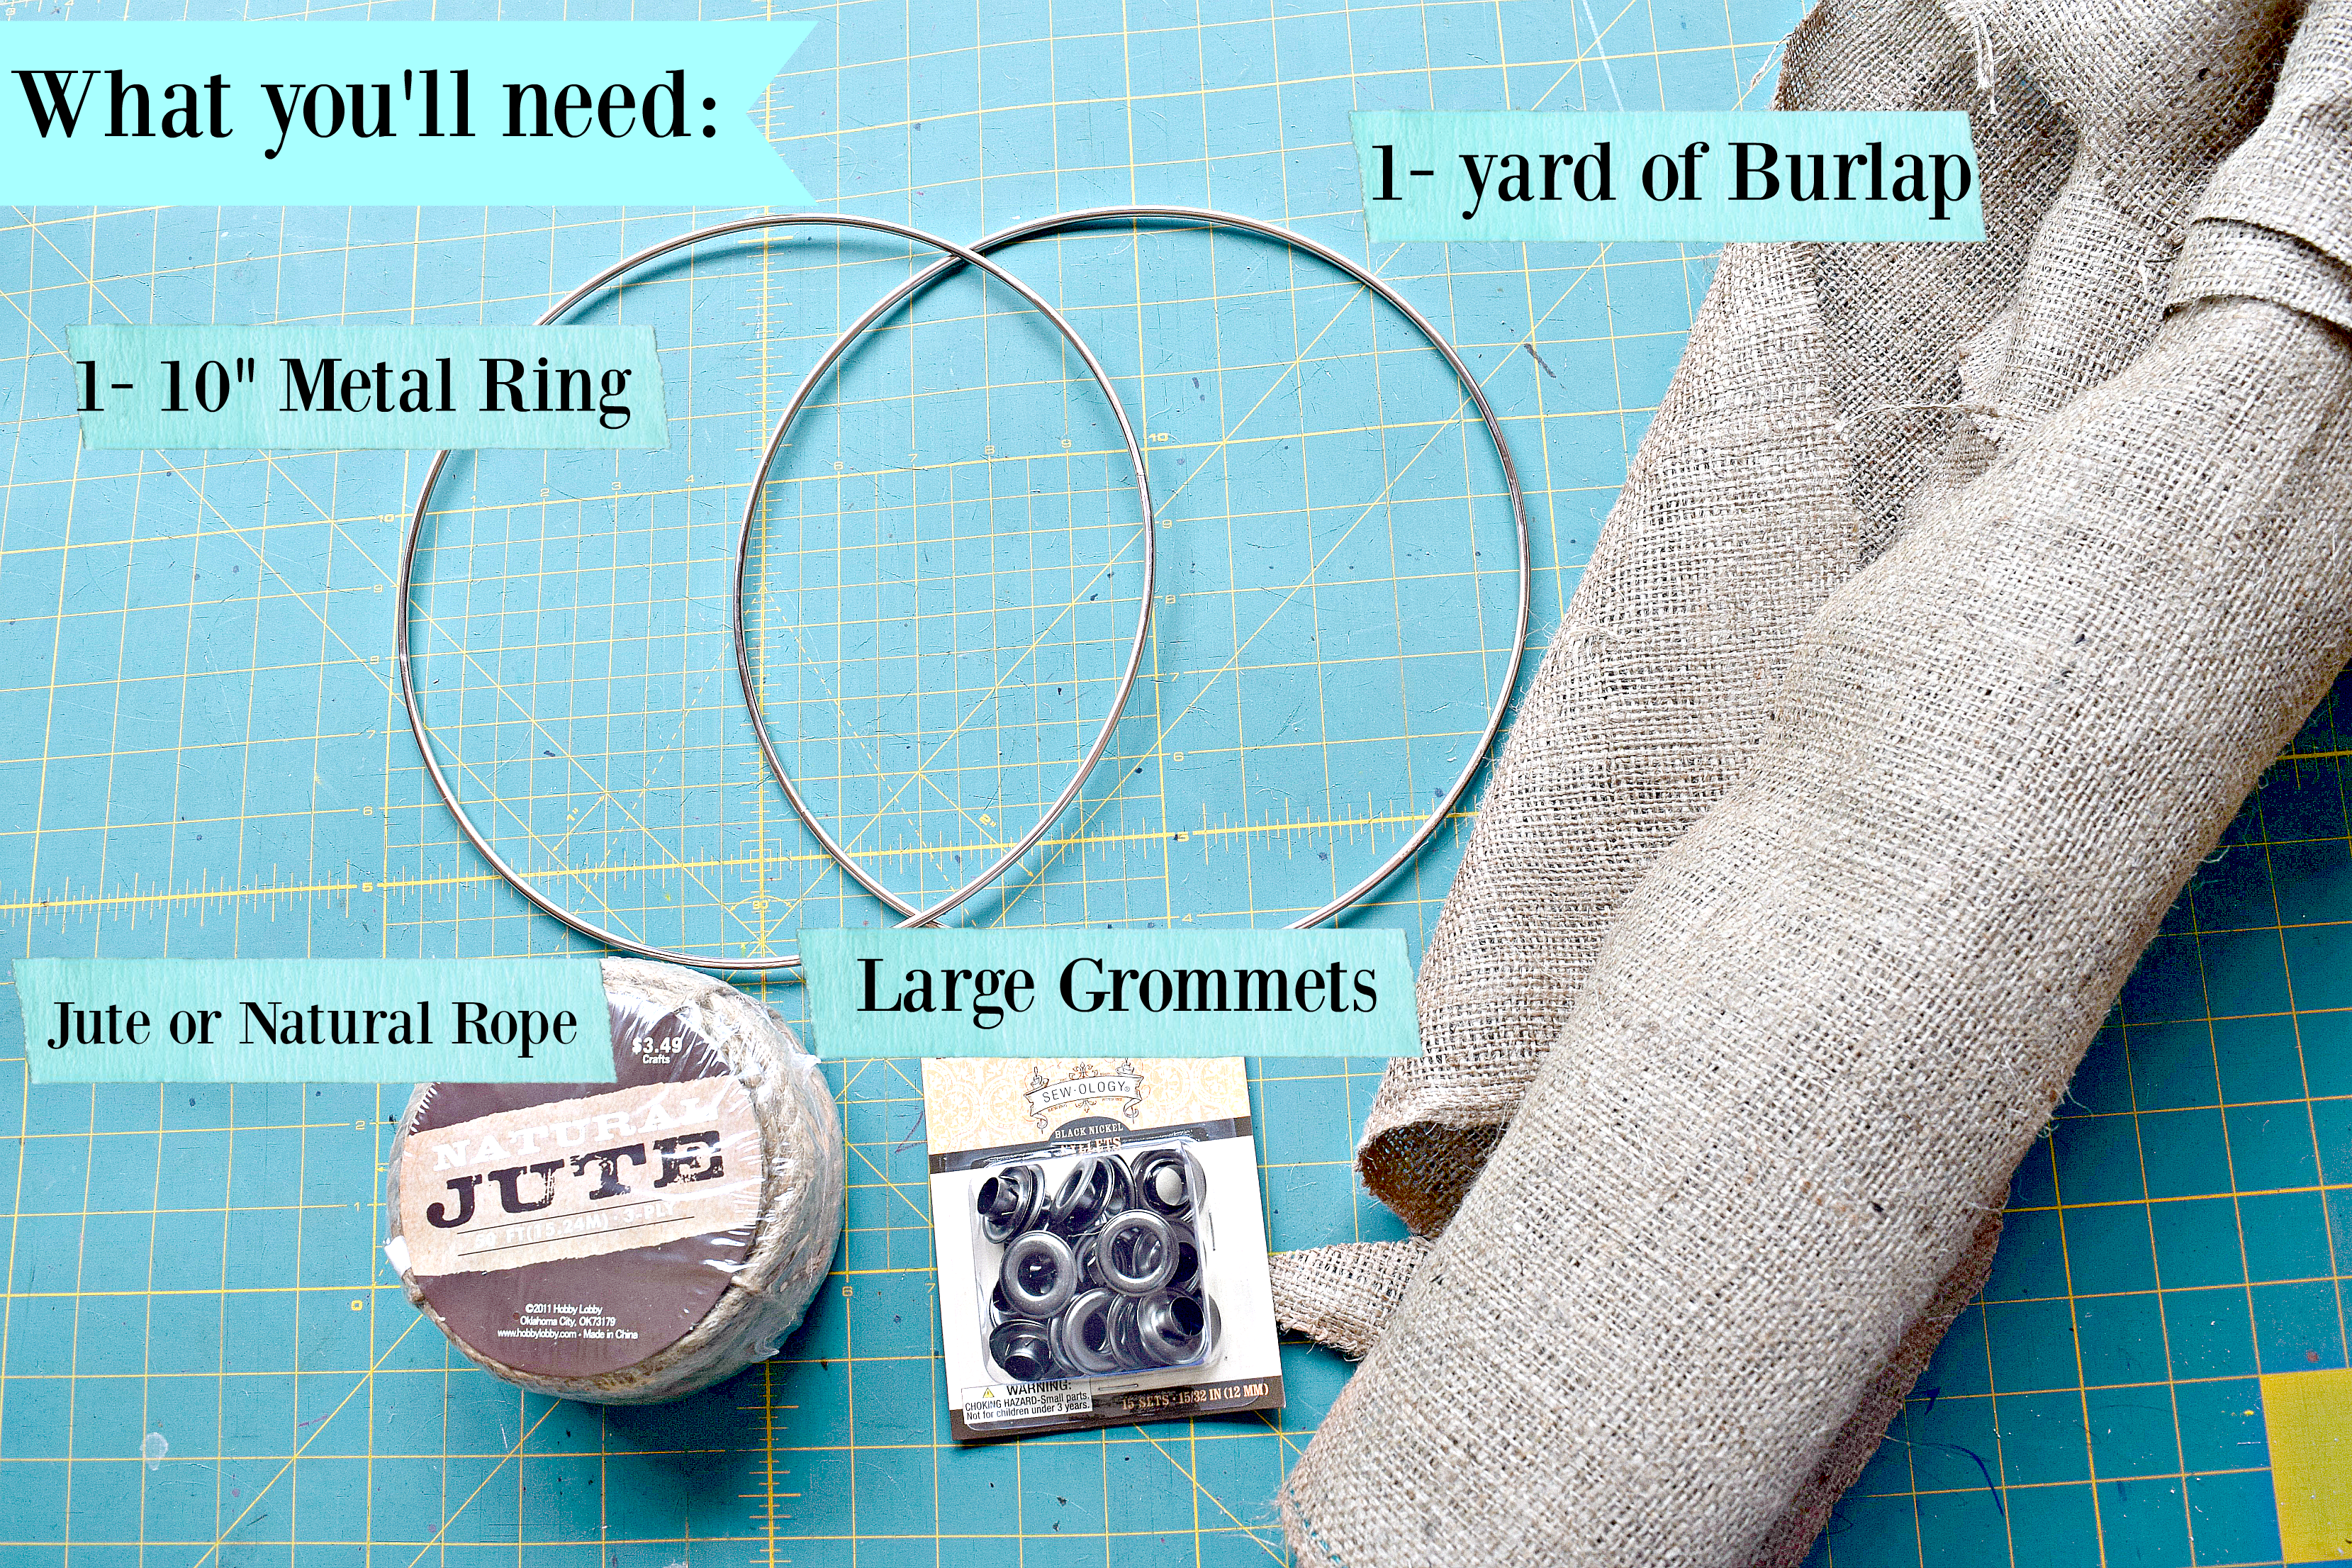
What you”ll need:
- 1 -10″ metal ring (I found mine at a local craft store for about $1 each)
- 1 yard of Burlap
- Thread
- Large Grommets (I used Sew-Ology Grommets and like how sturdy they are)
- 1/2 thick Jute or Natural Rope
- Acrylic Paint
- Paint Brushes
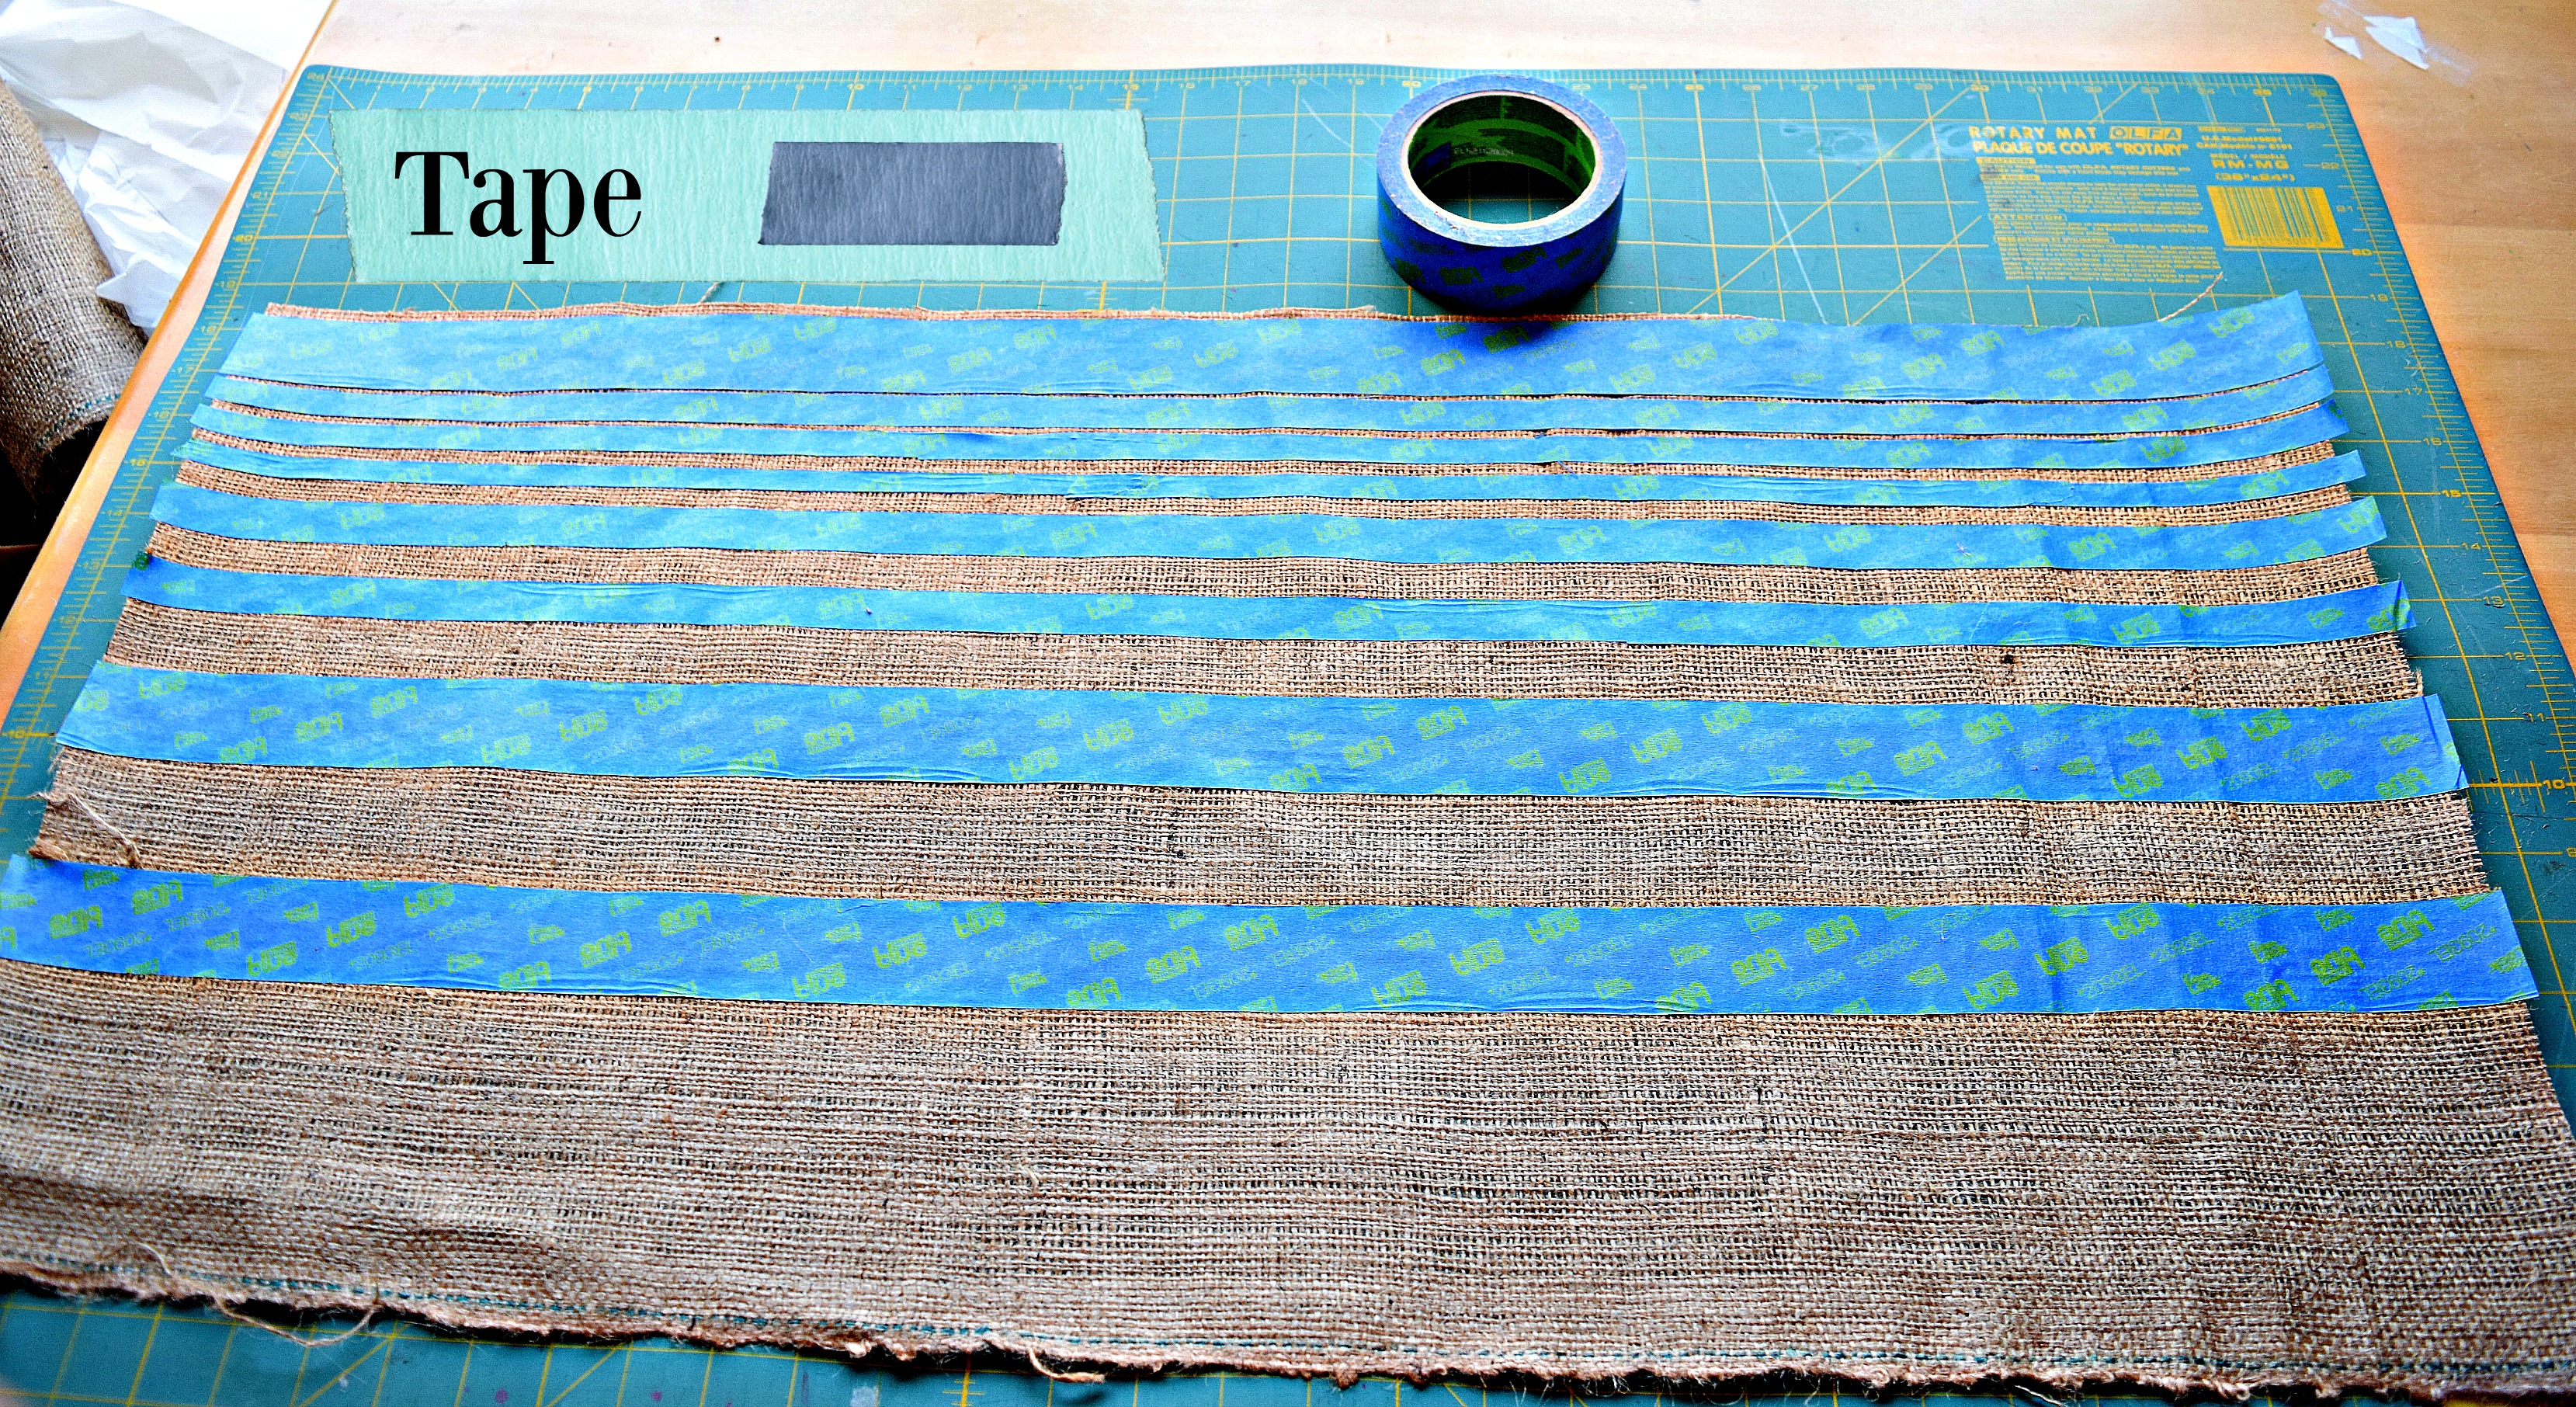
- Painter’s Tape
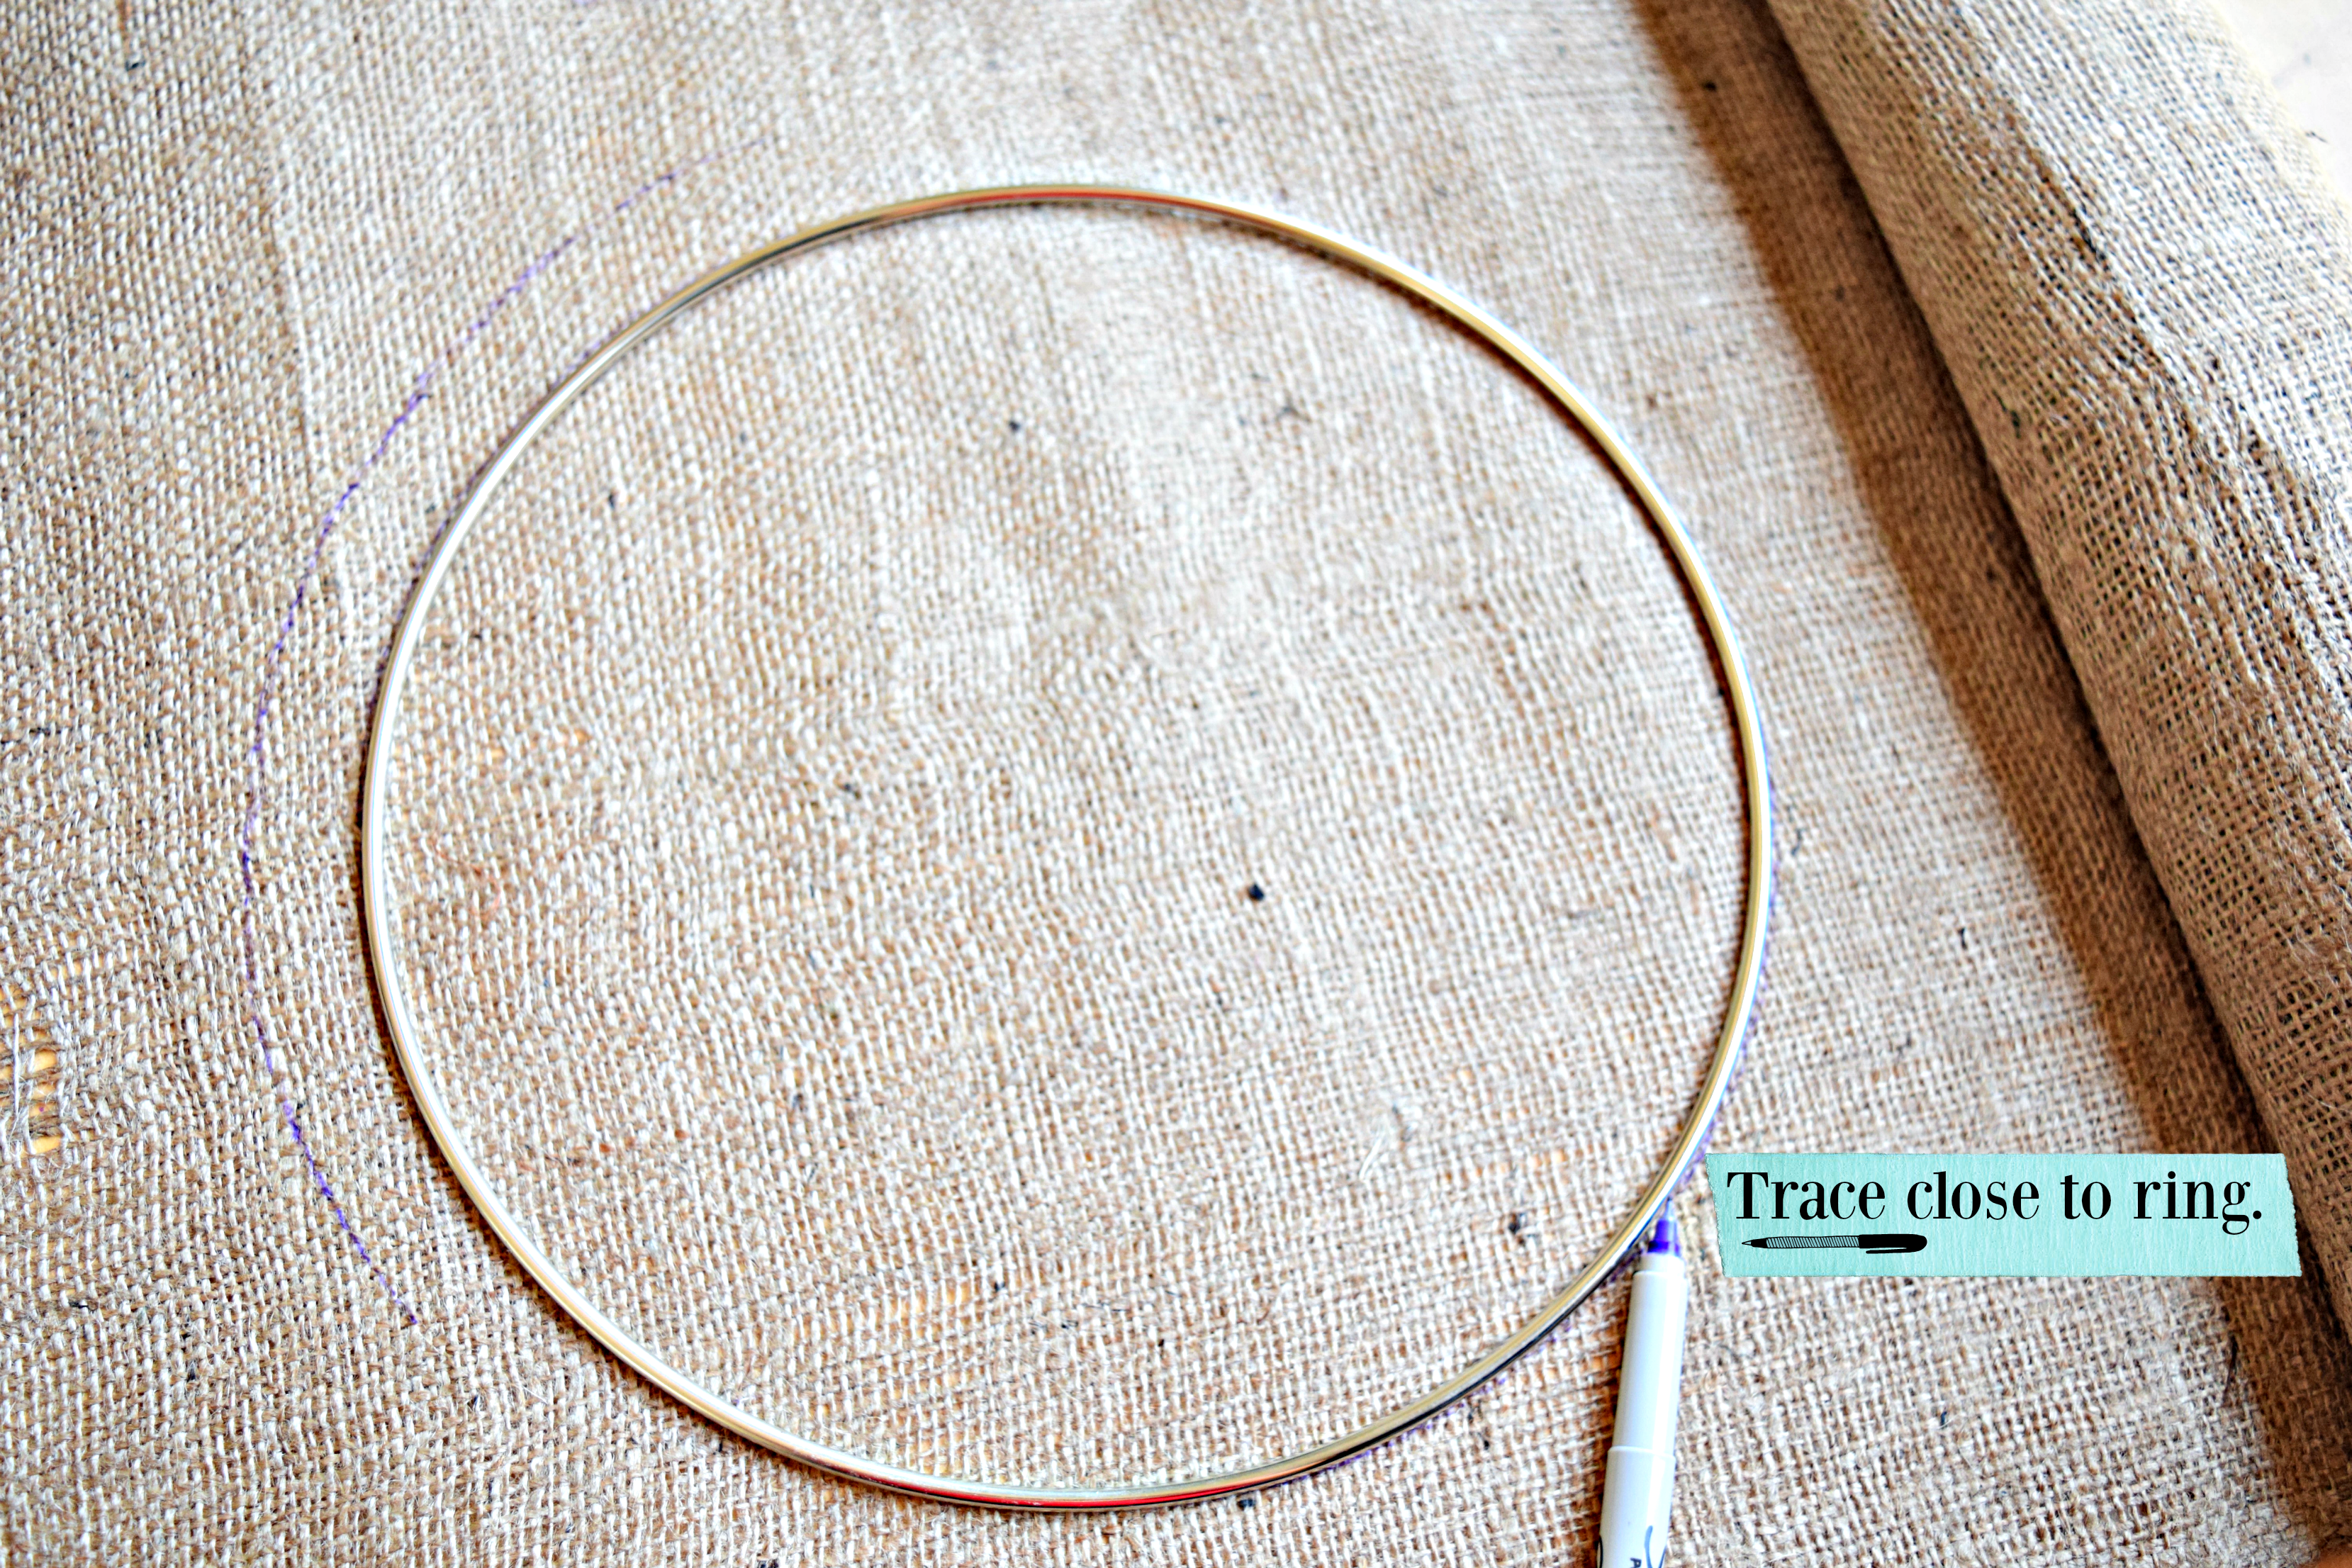
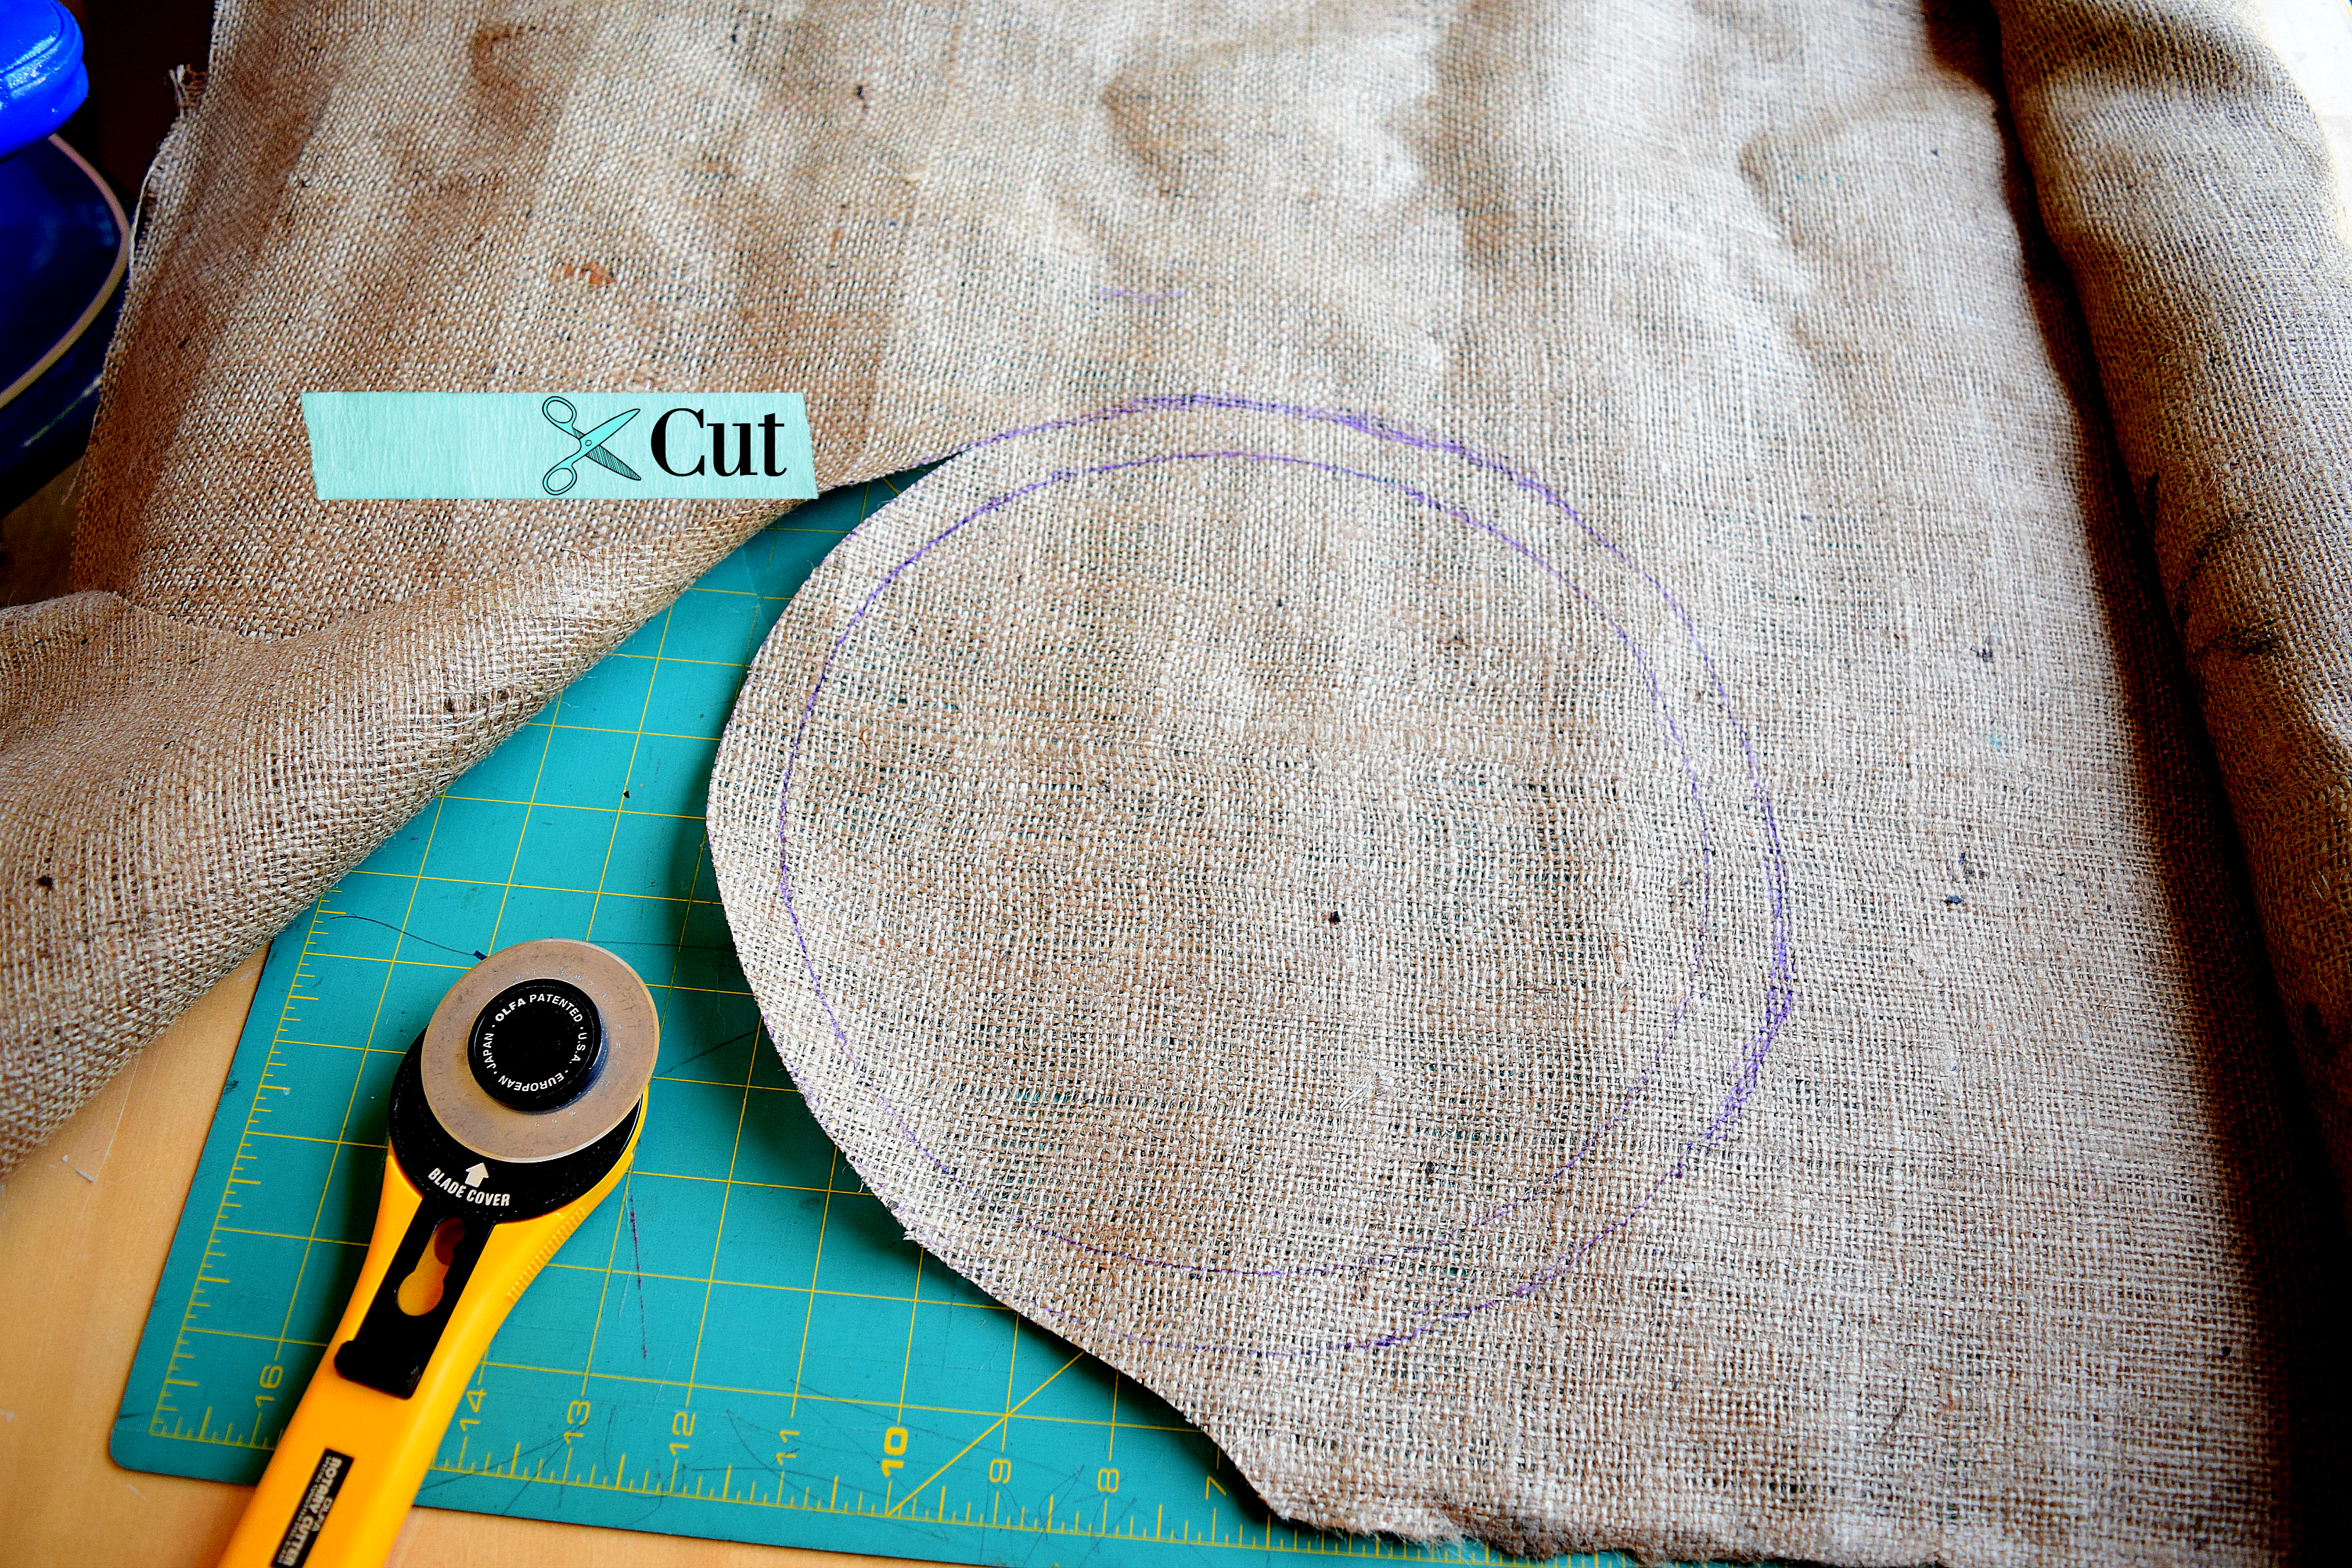
Trace Your 10″ Ring
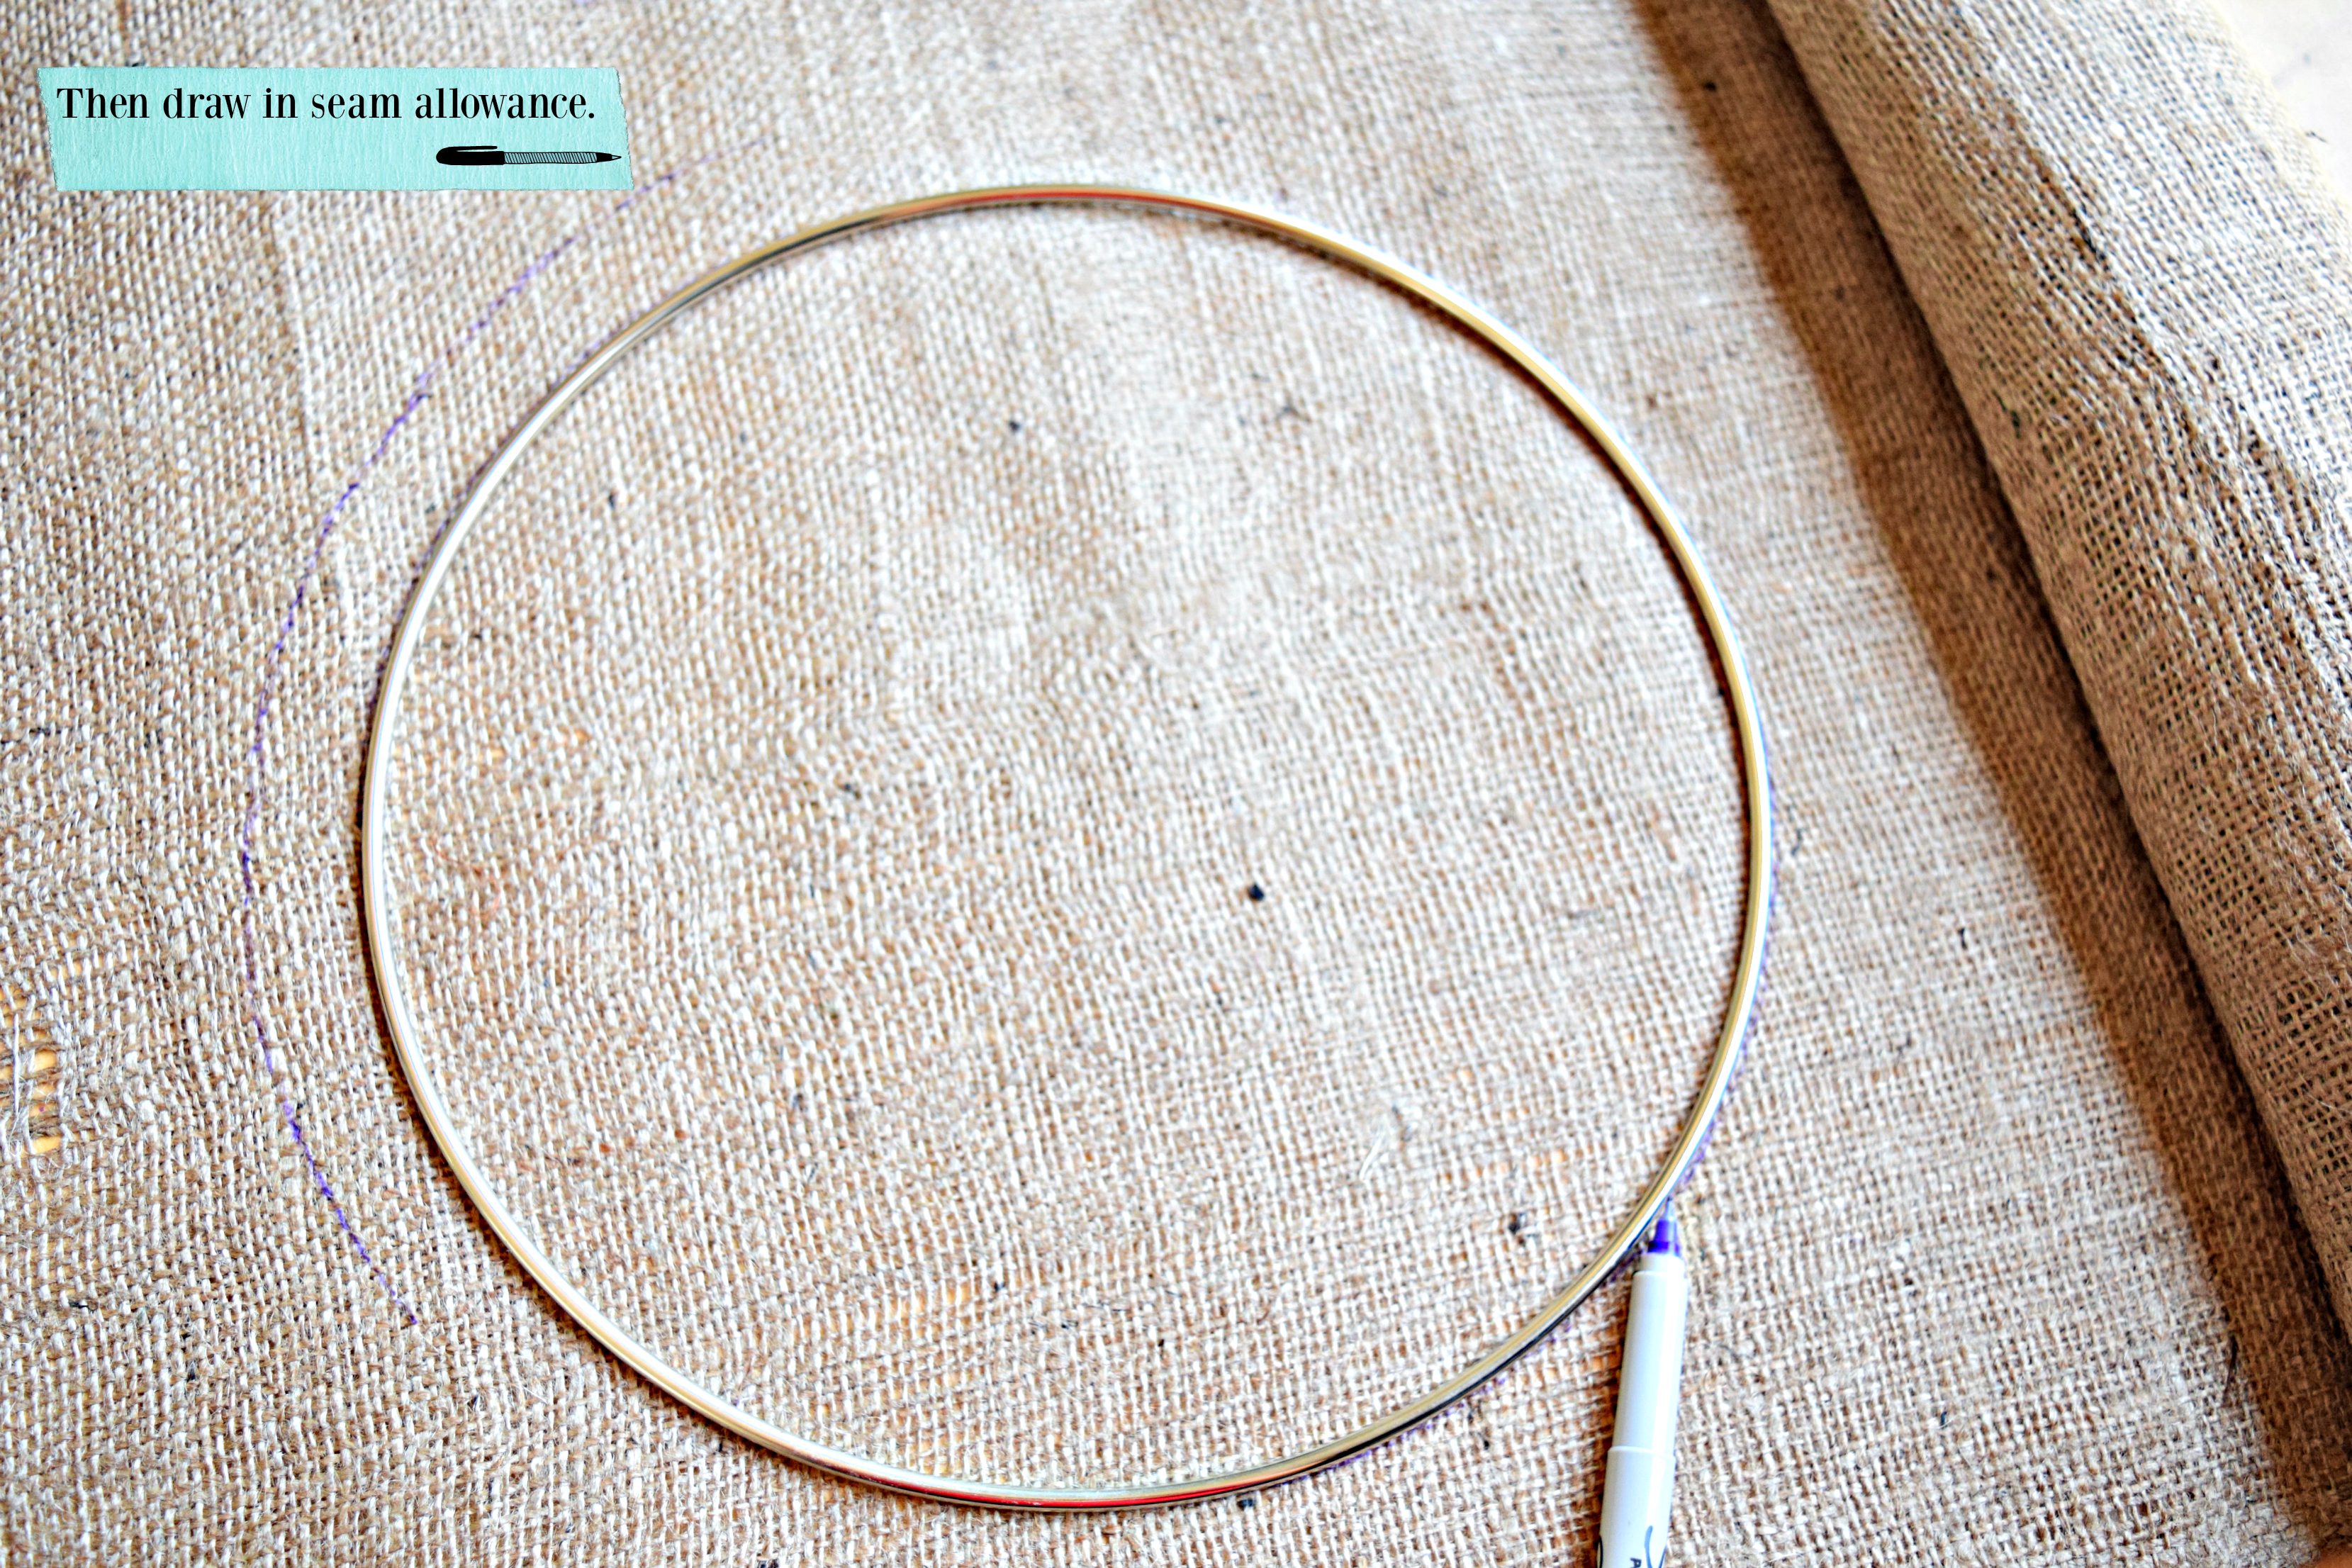
Add Seam Allowance (I did just under an inch)
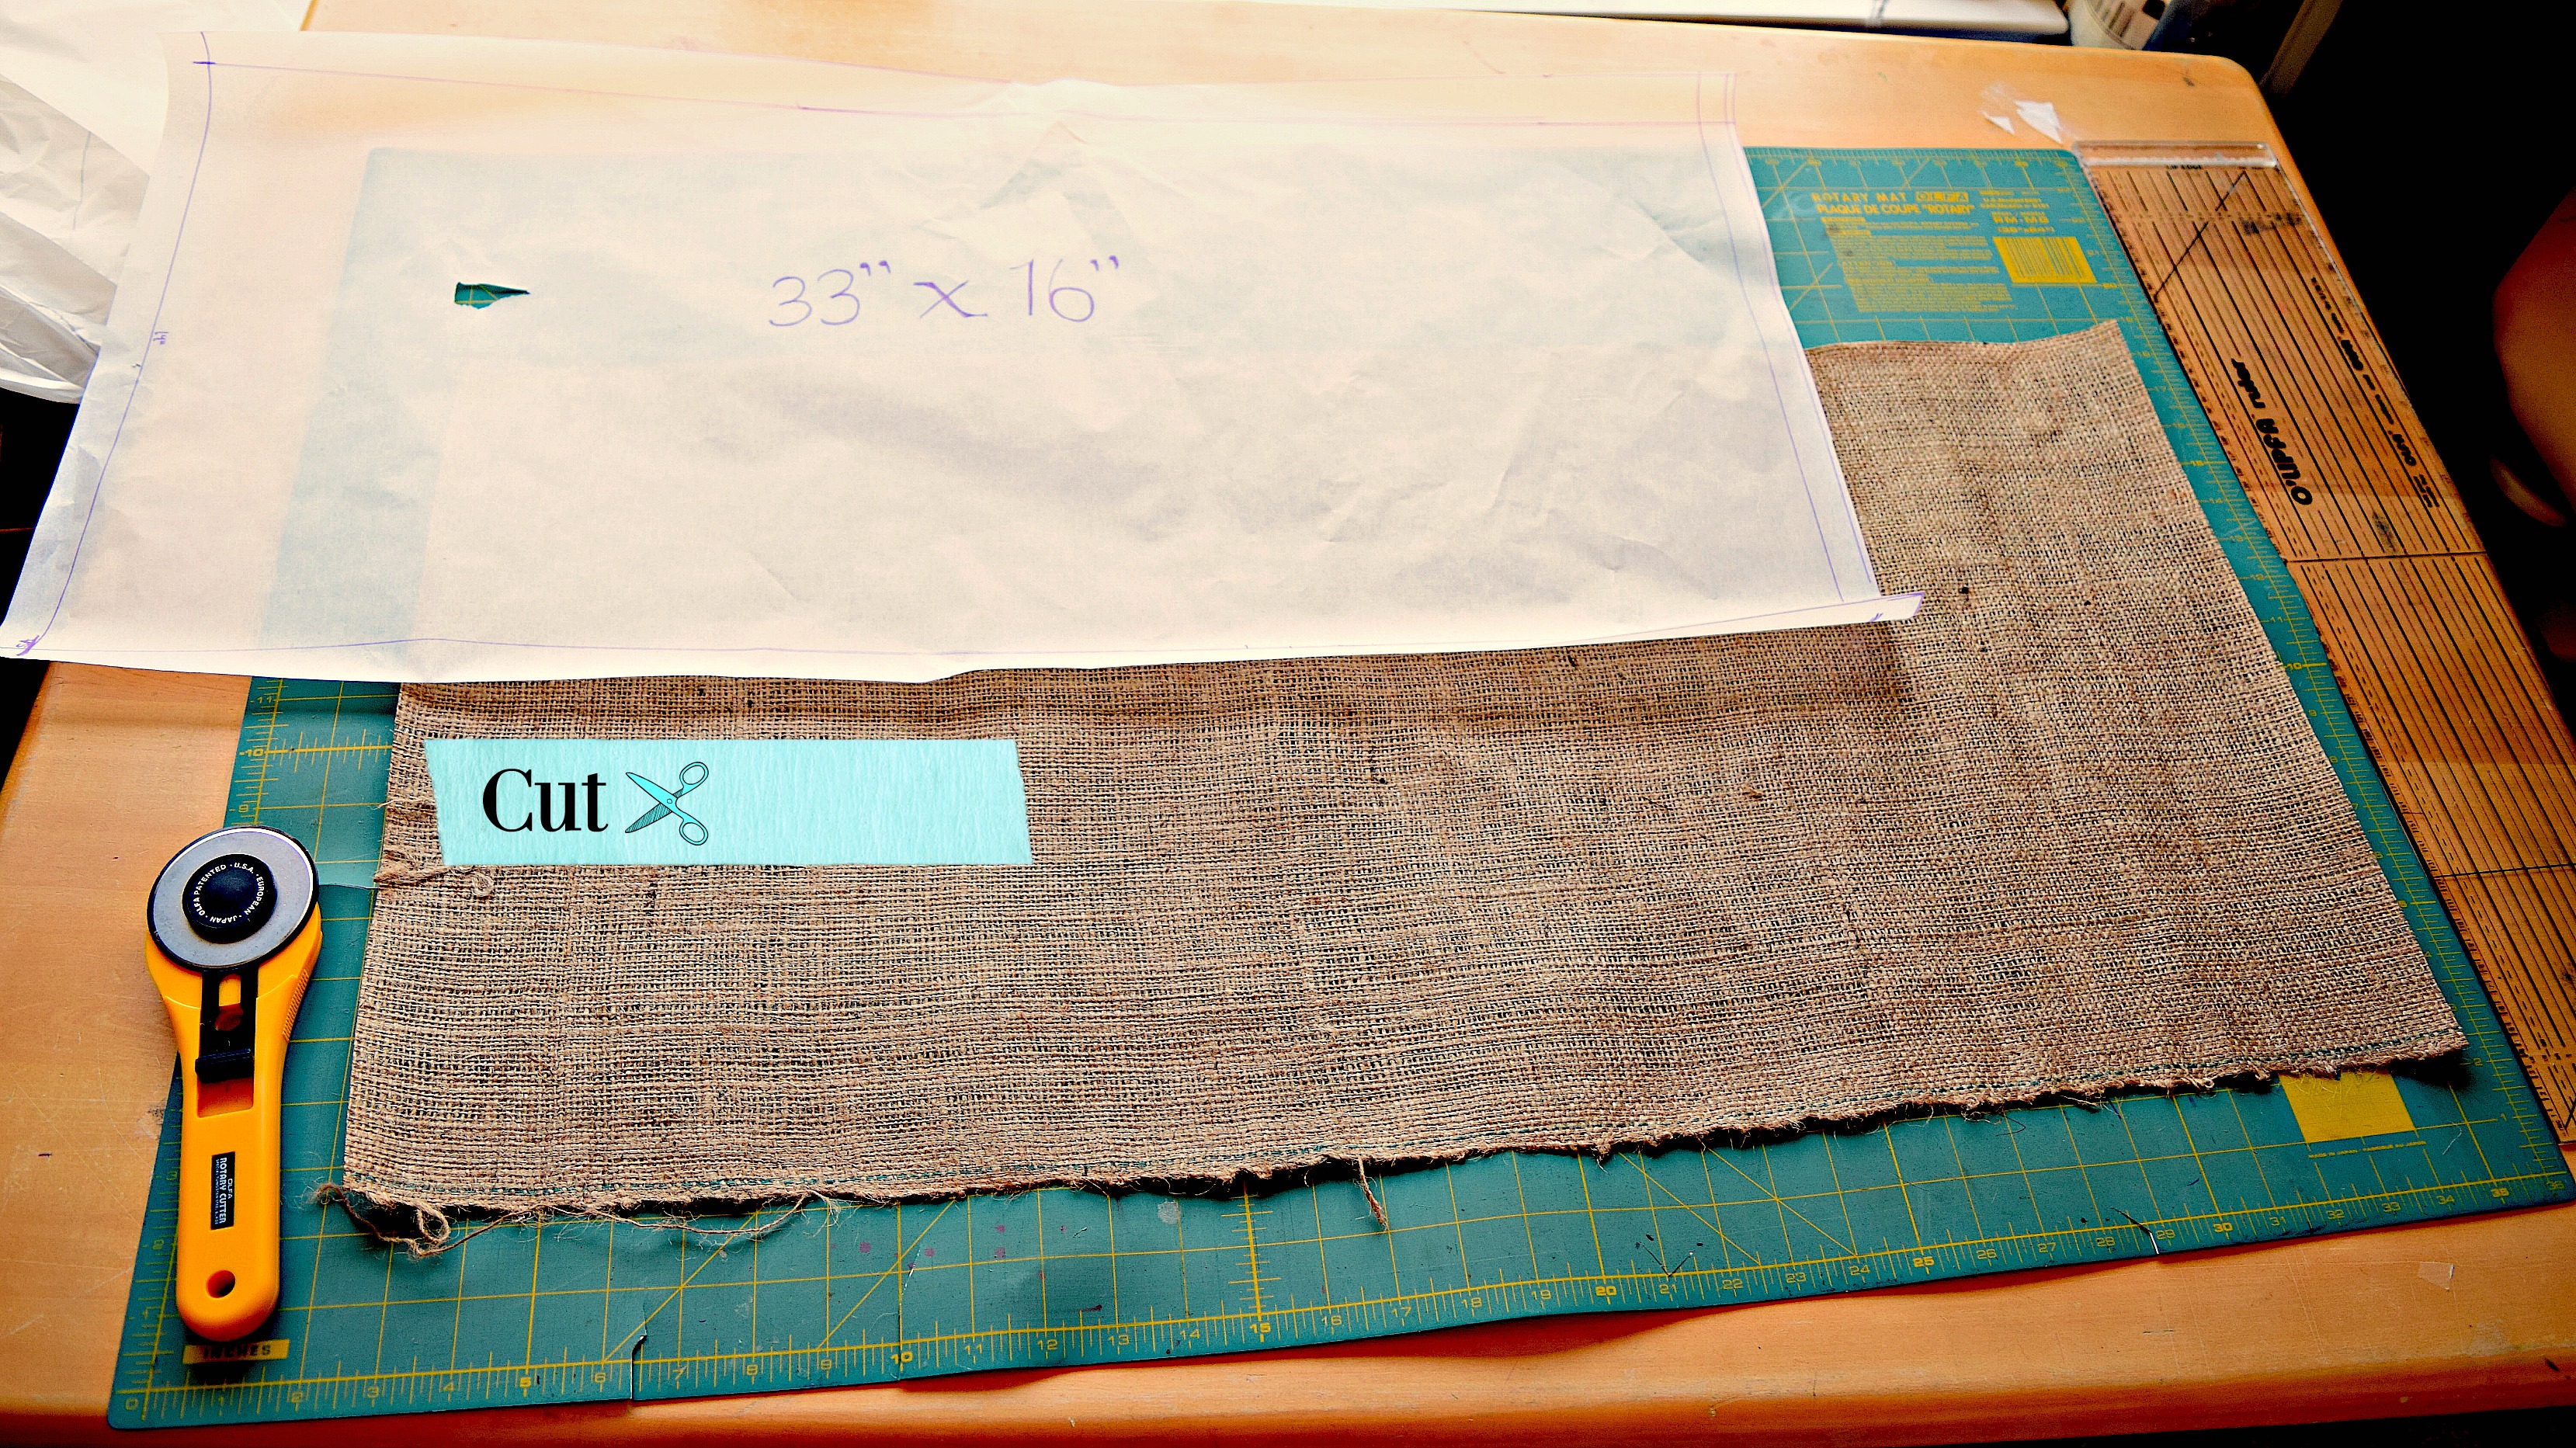
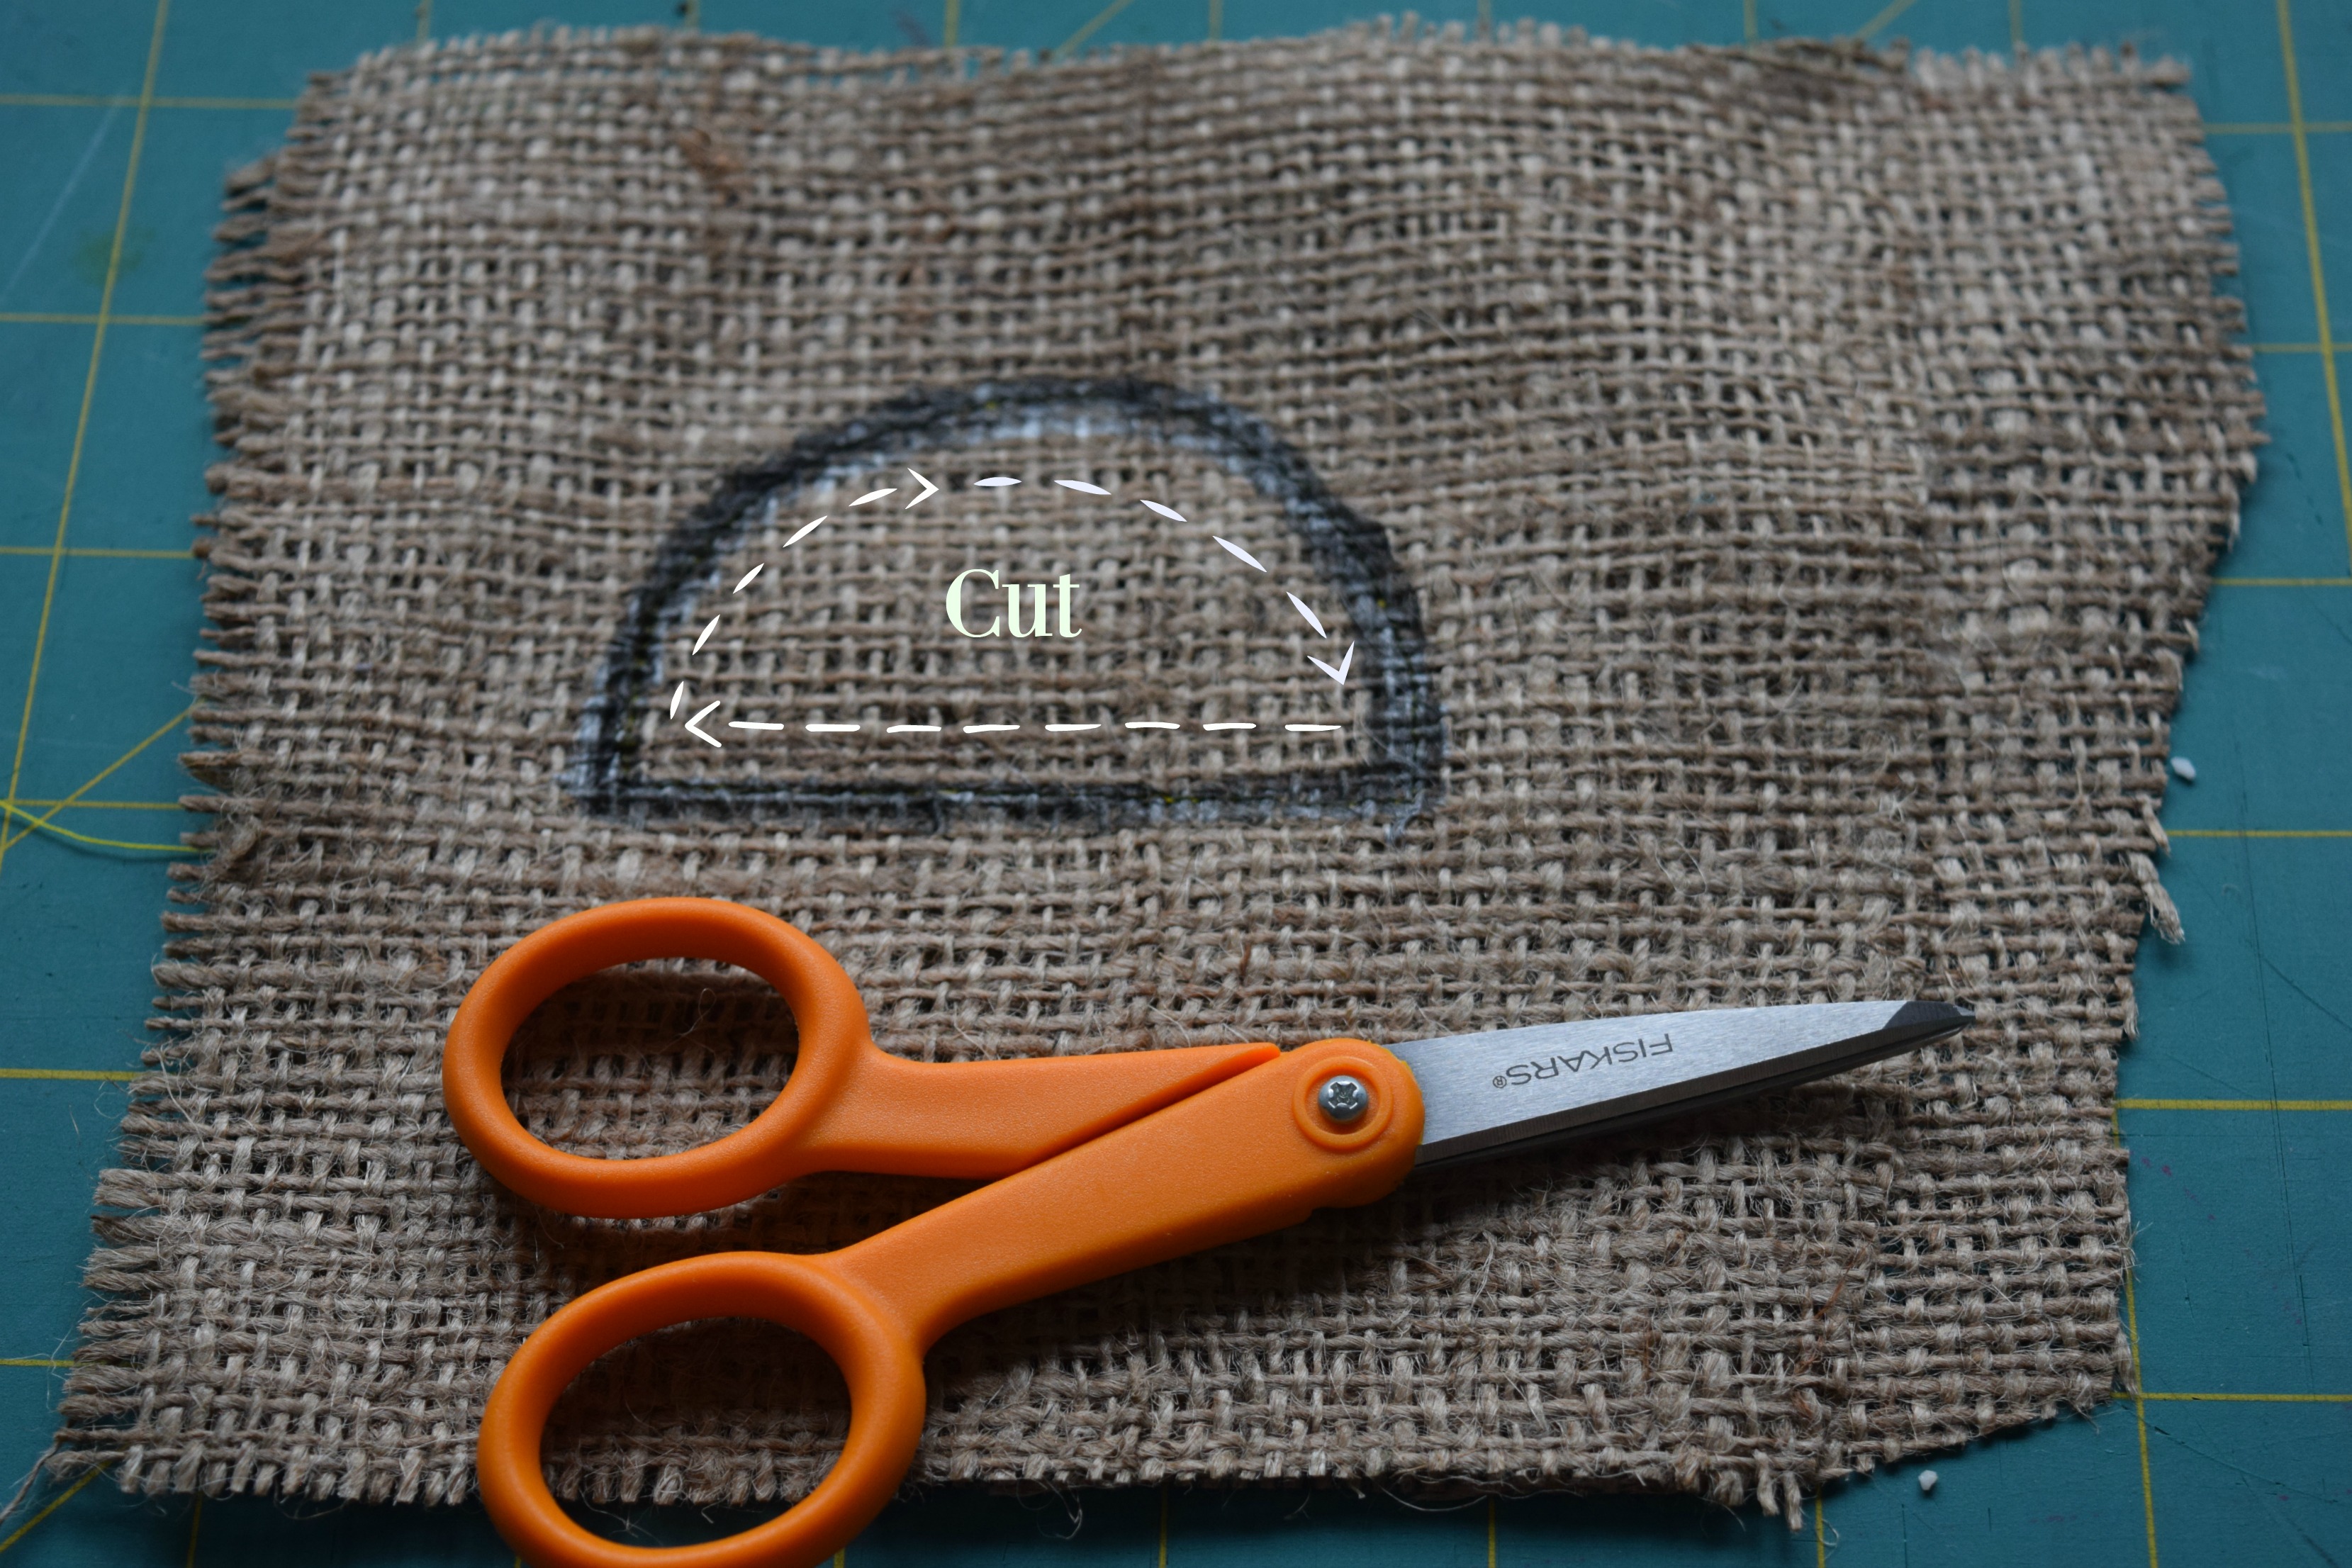
Cut
How to Adjust The Pattern (Skip if you are using a 10″ ring)
This next step shows how I made this pattern. You can use this formula to make plater with a larger or smaller mouth (you would have to buy a larger or smaller ring). If you are using a 10″ ring you can skip this and just use the 33×16″ rectangle I’ve measured out.
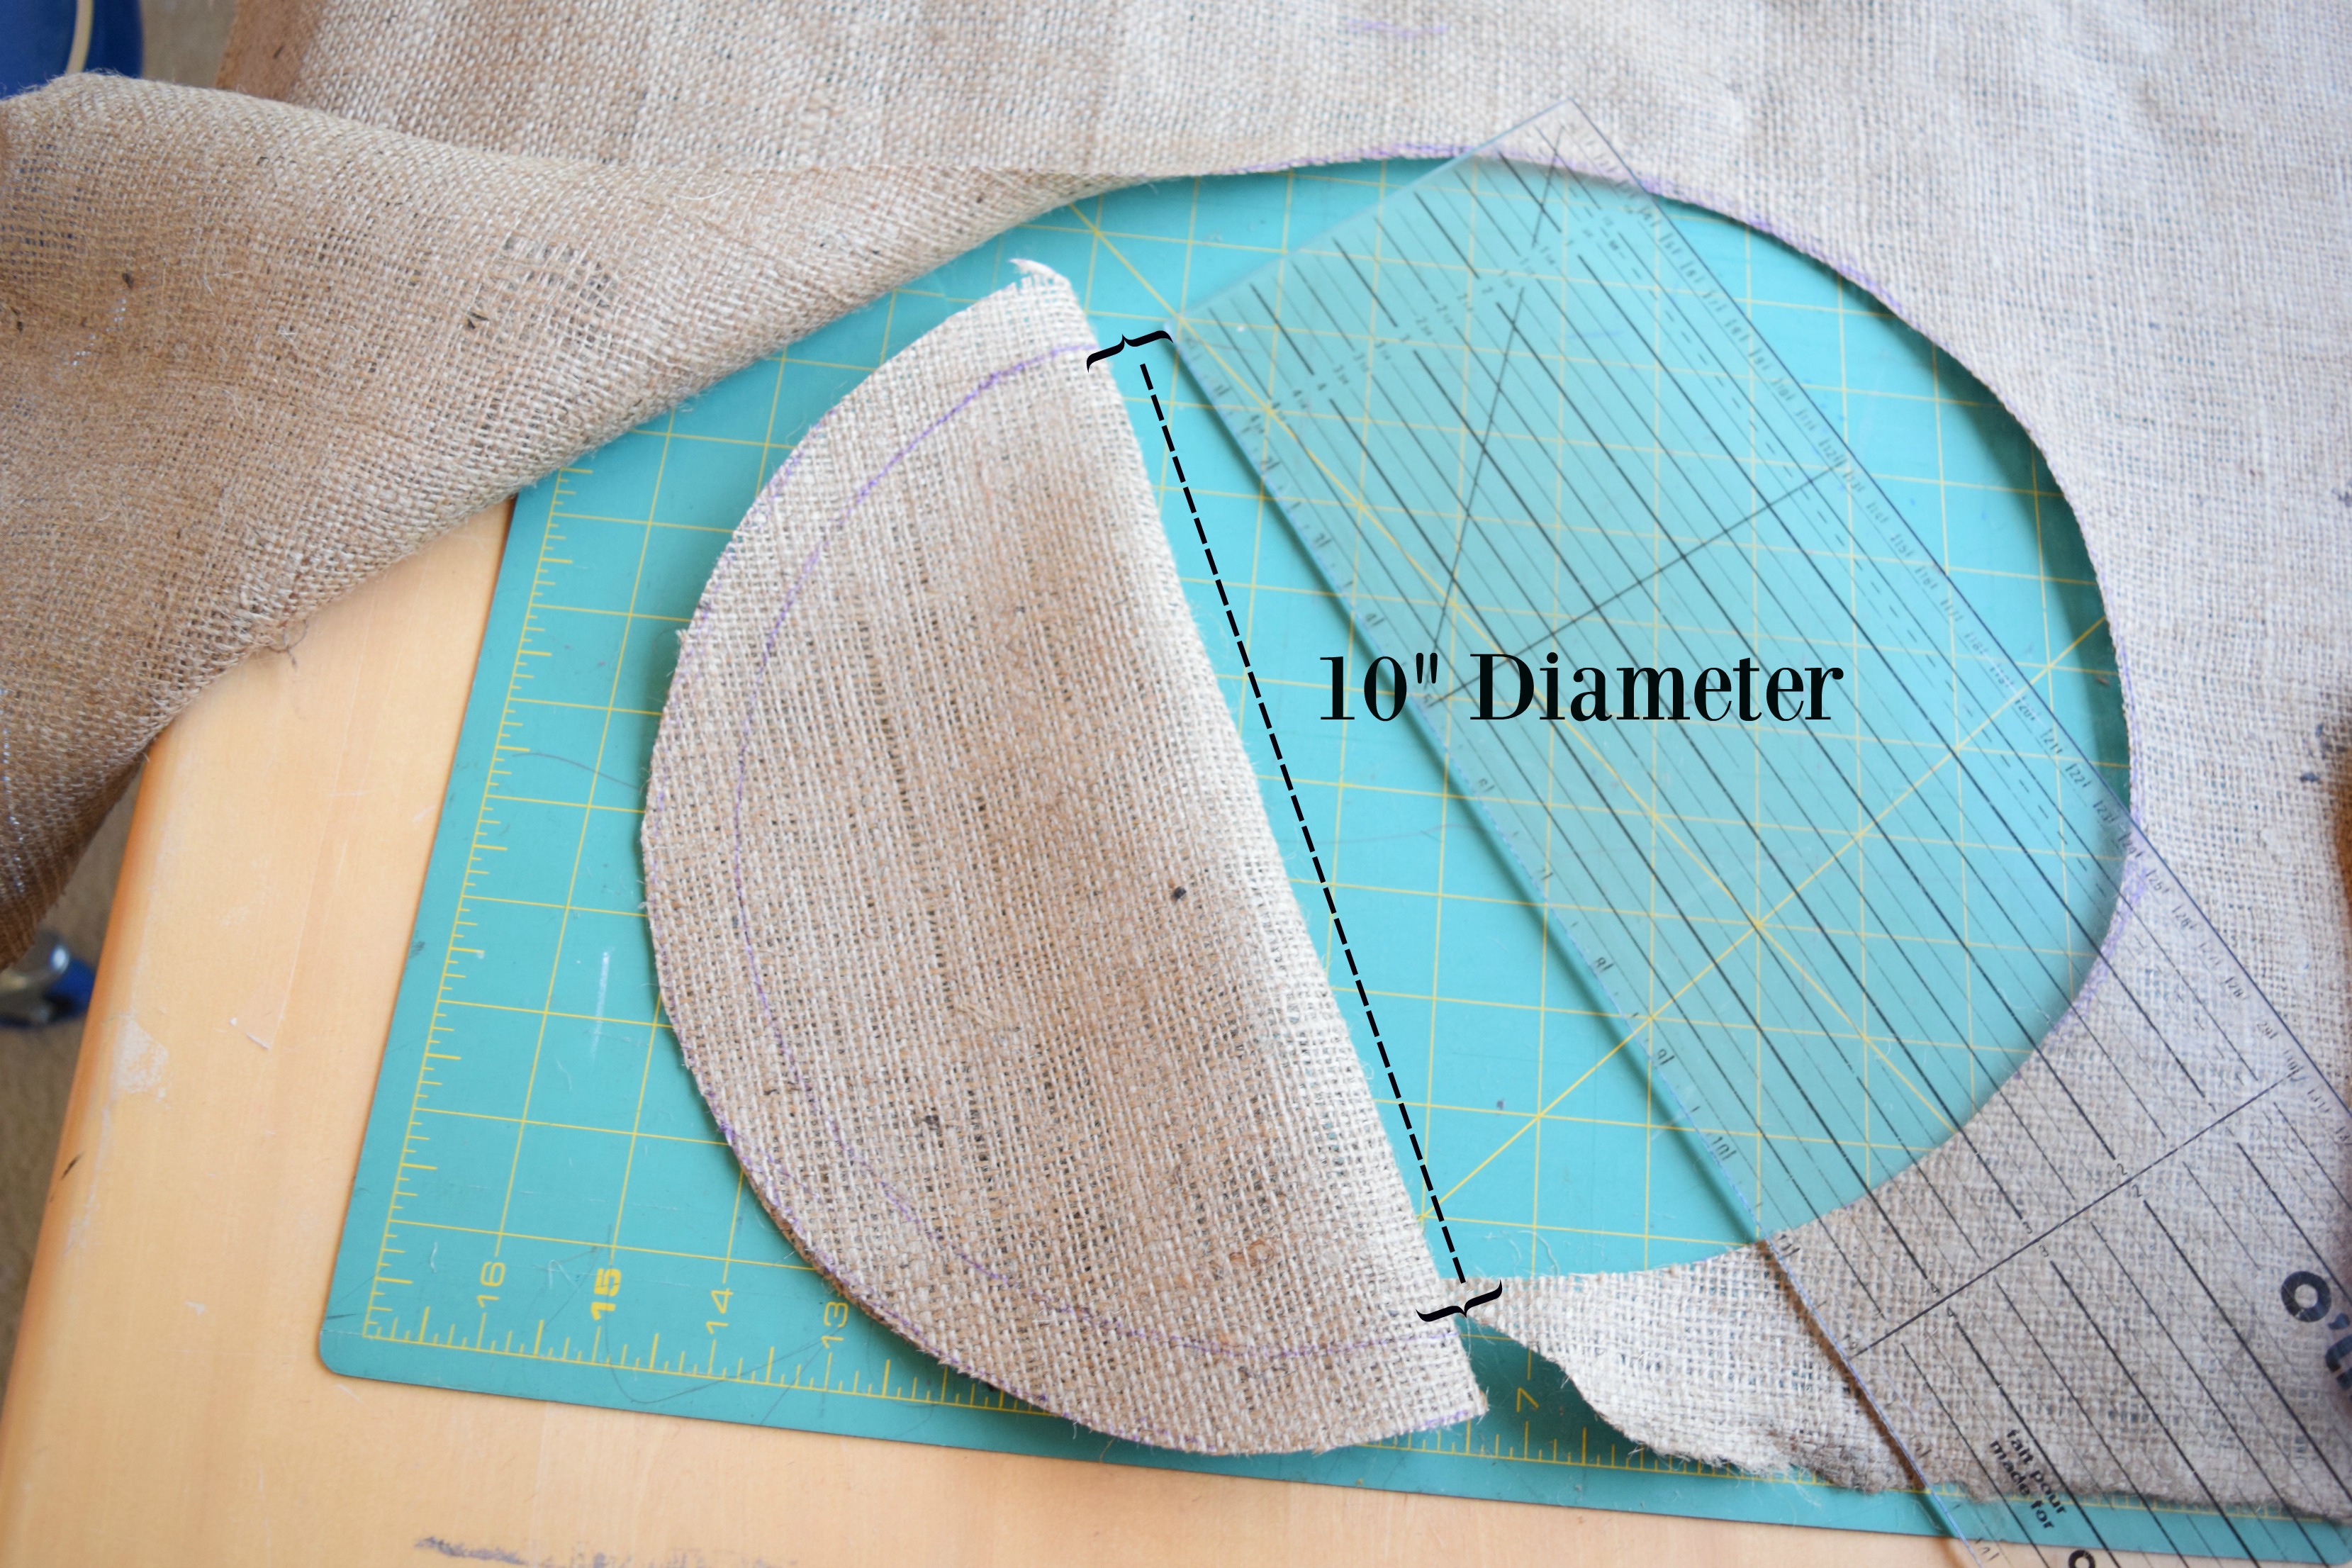
Find the diameter of the ring. You can do this by folding your burlap circle in half and measuring the length of the inner circle.
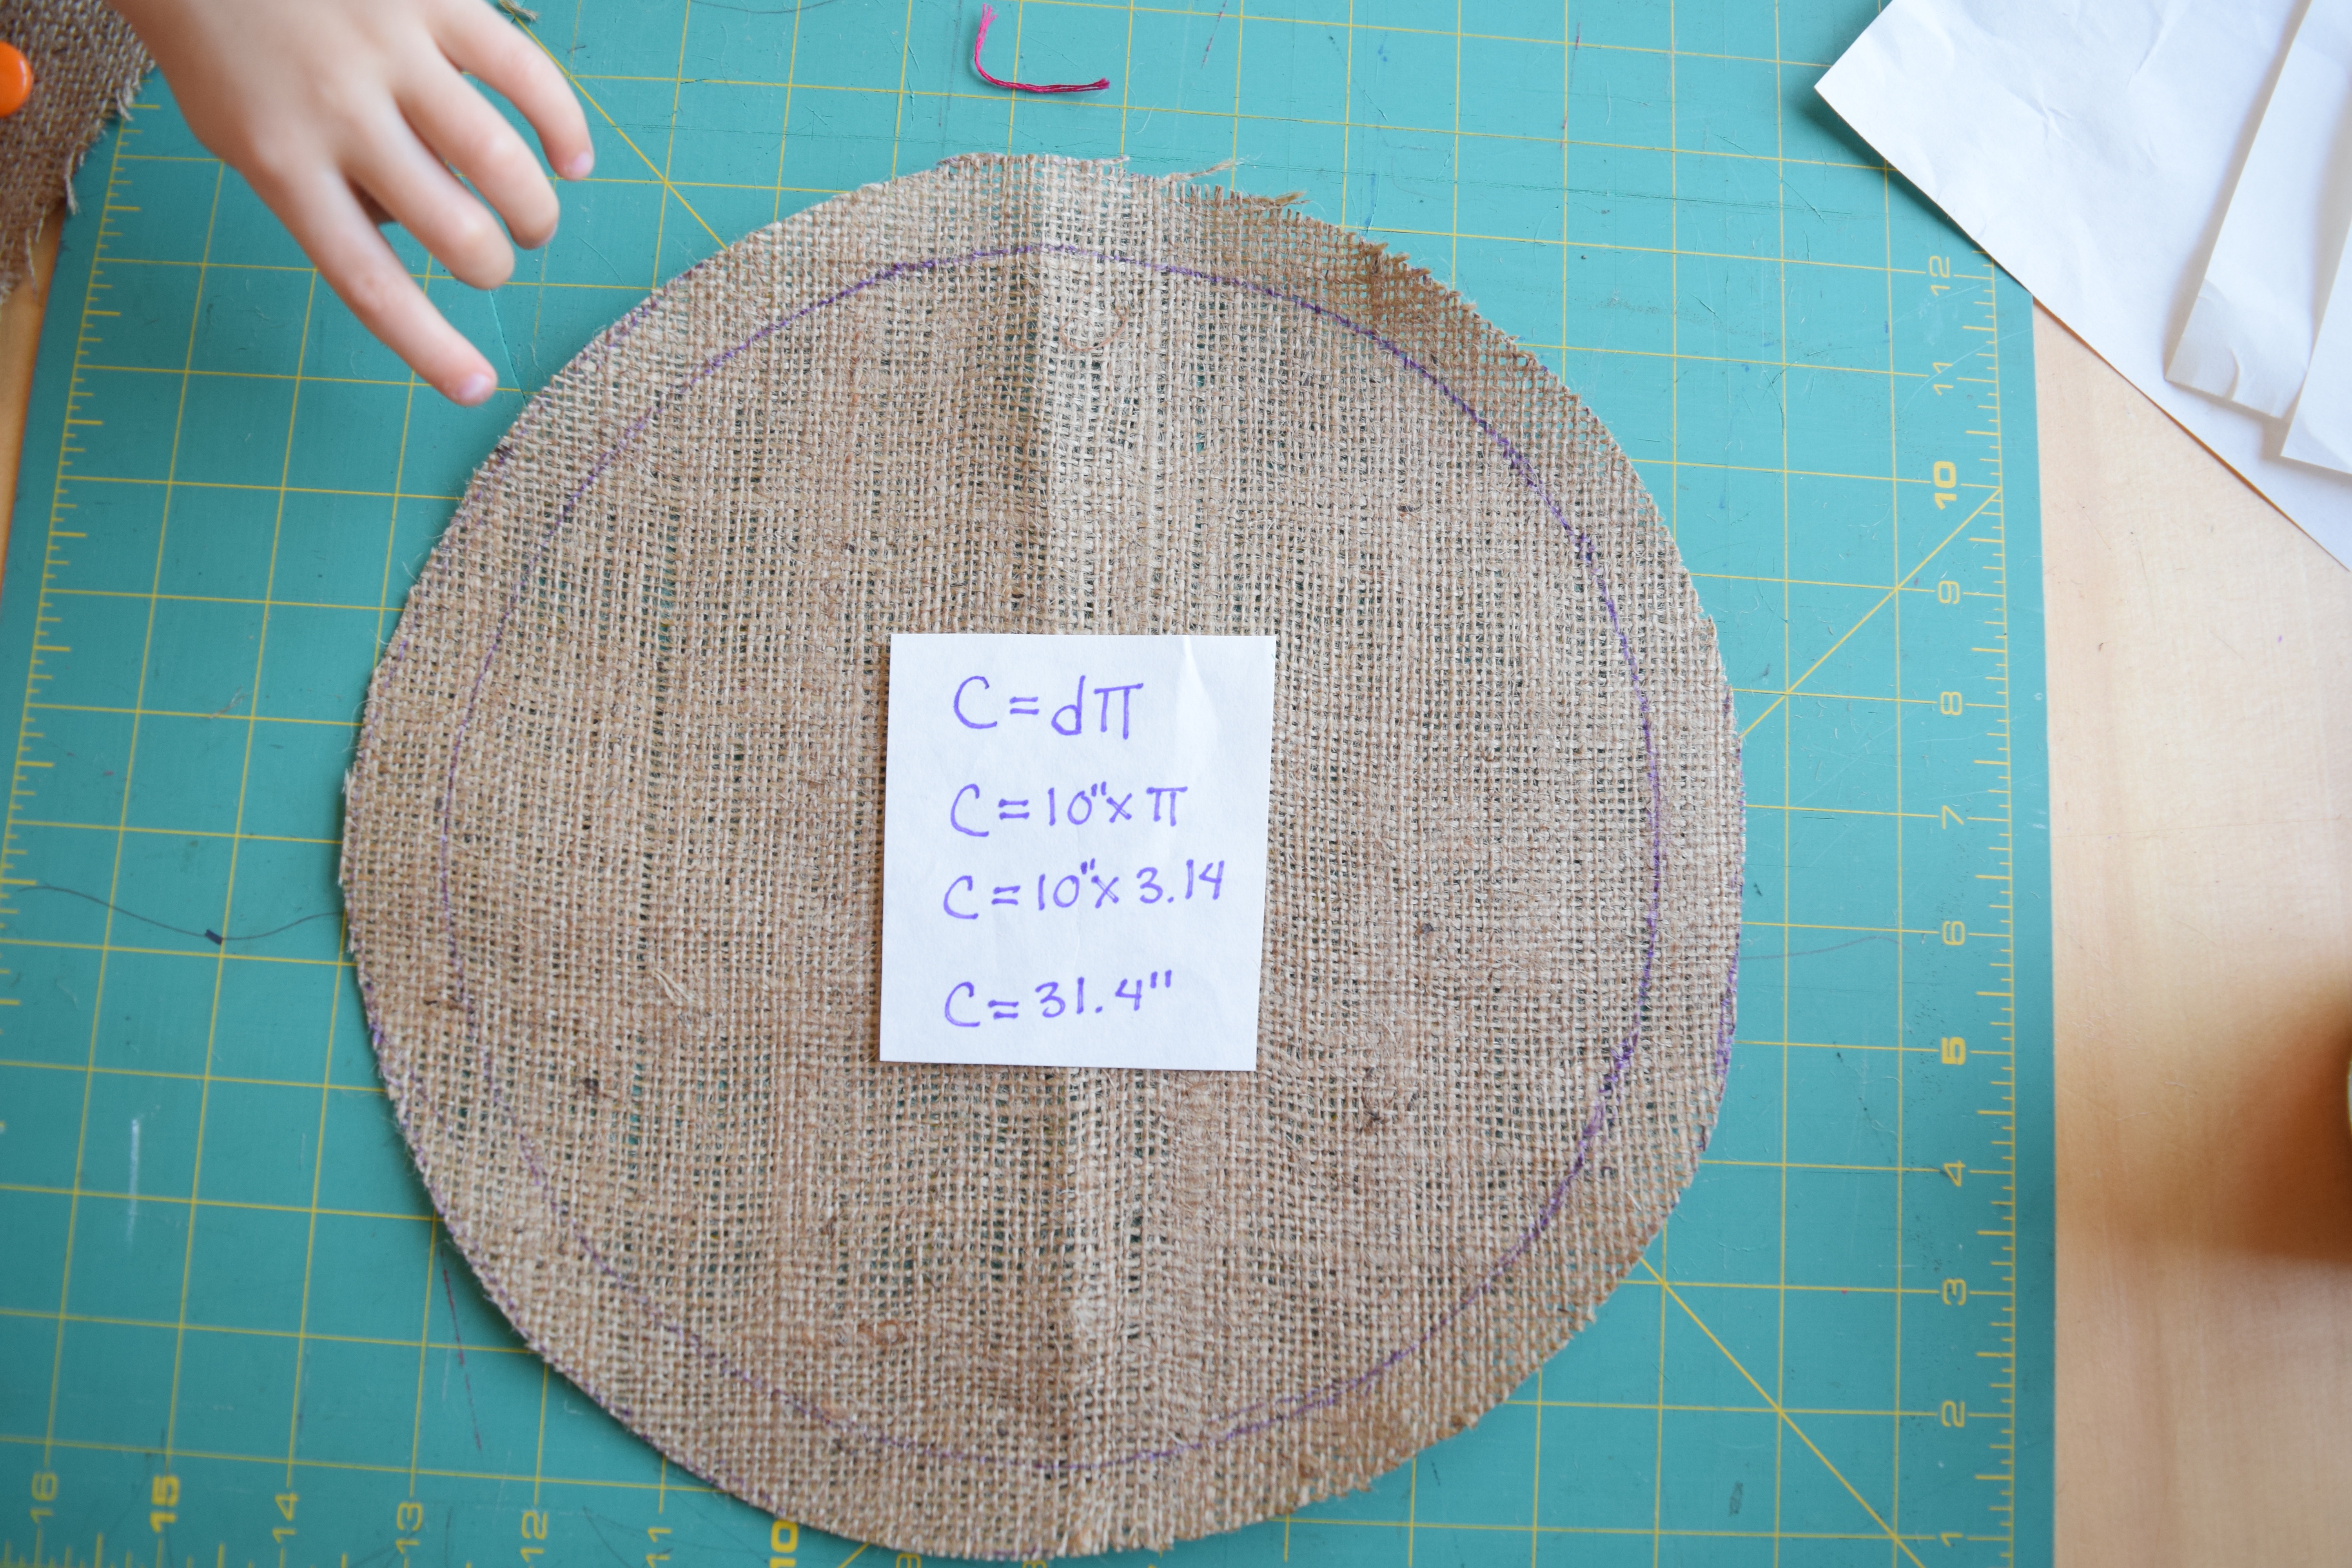
Next find the circumference. That will give you the length of fabric you need to go all the way around your circle.
C=dπ
Since the diameter of our circle is 10″ you plug 10 in place of the d.
C=10π
Since π is 3.14 you can plug that in.
C=10″x3.14
C=31.4″
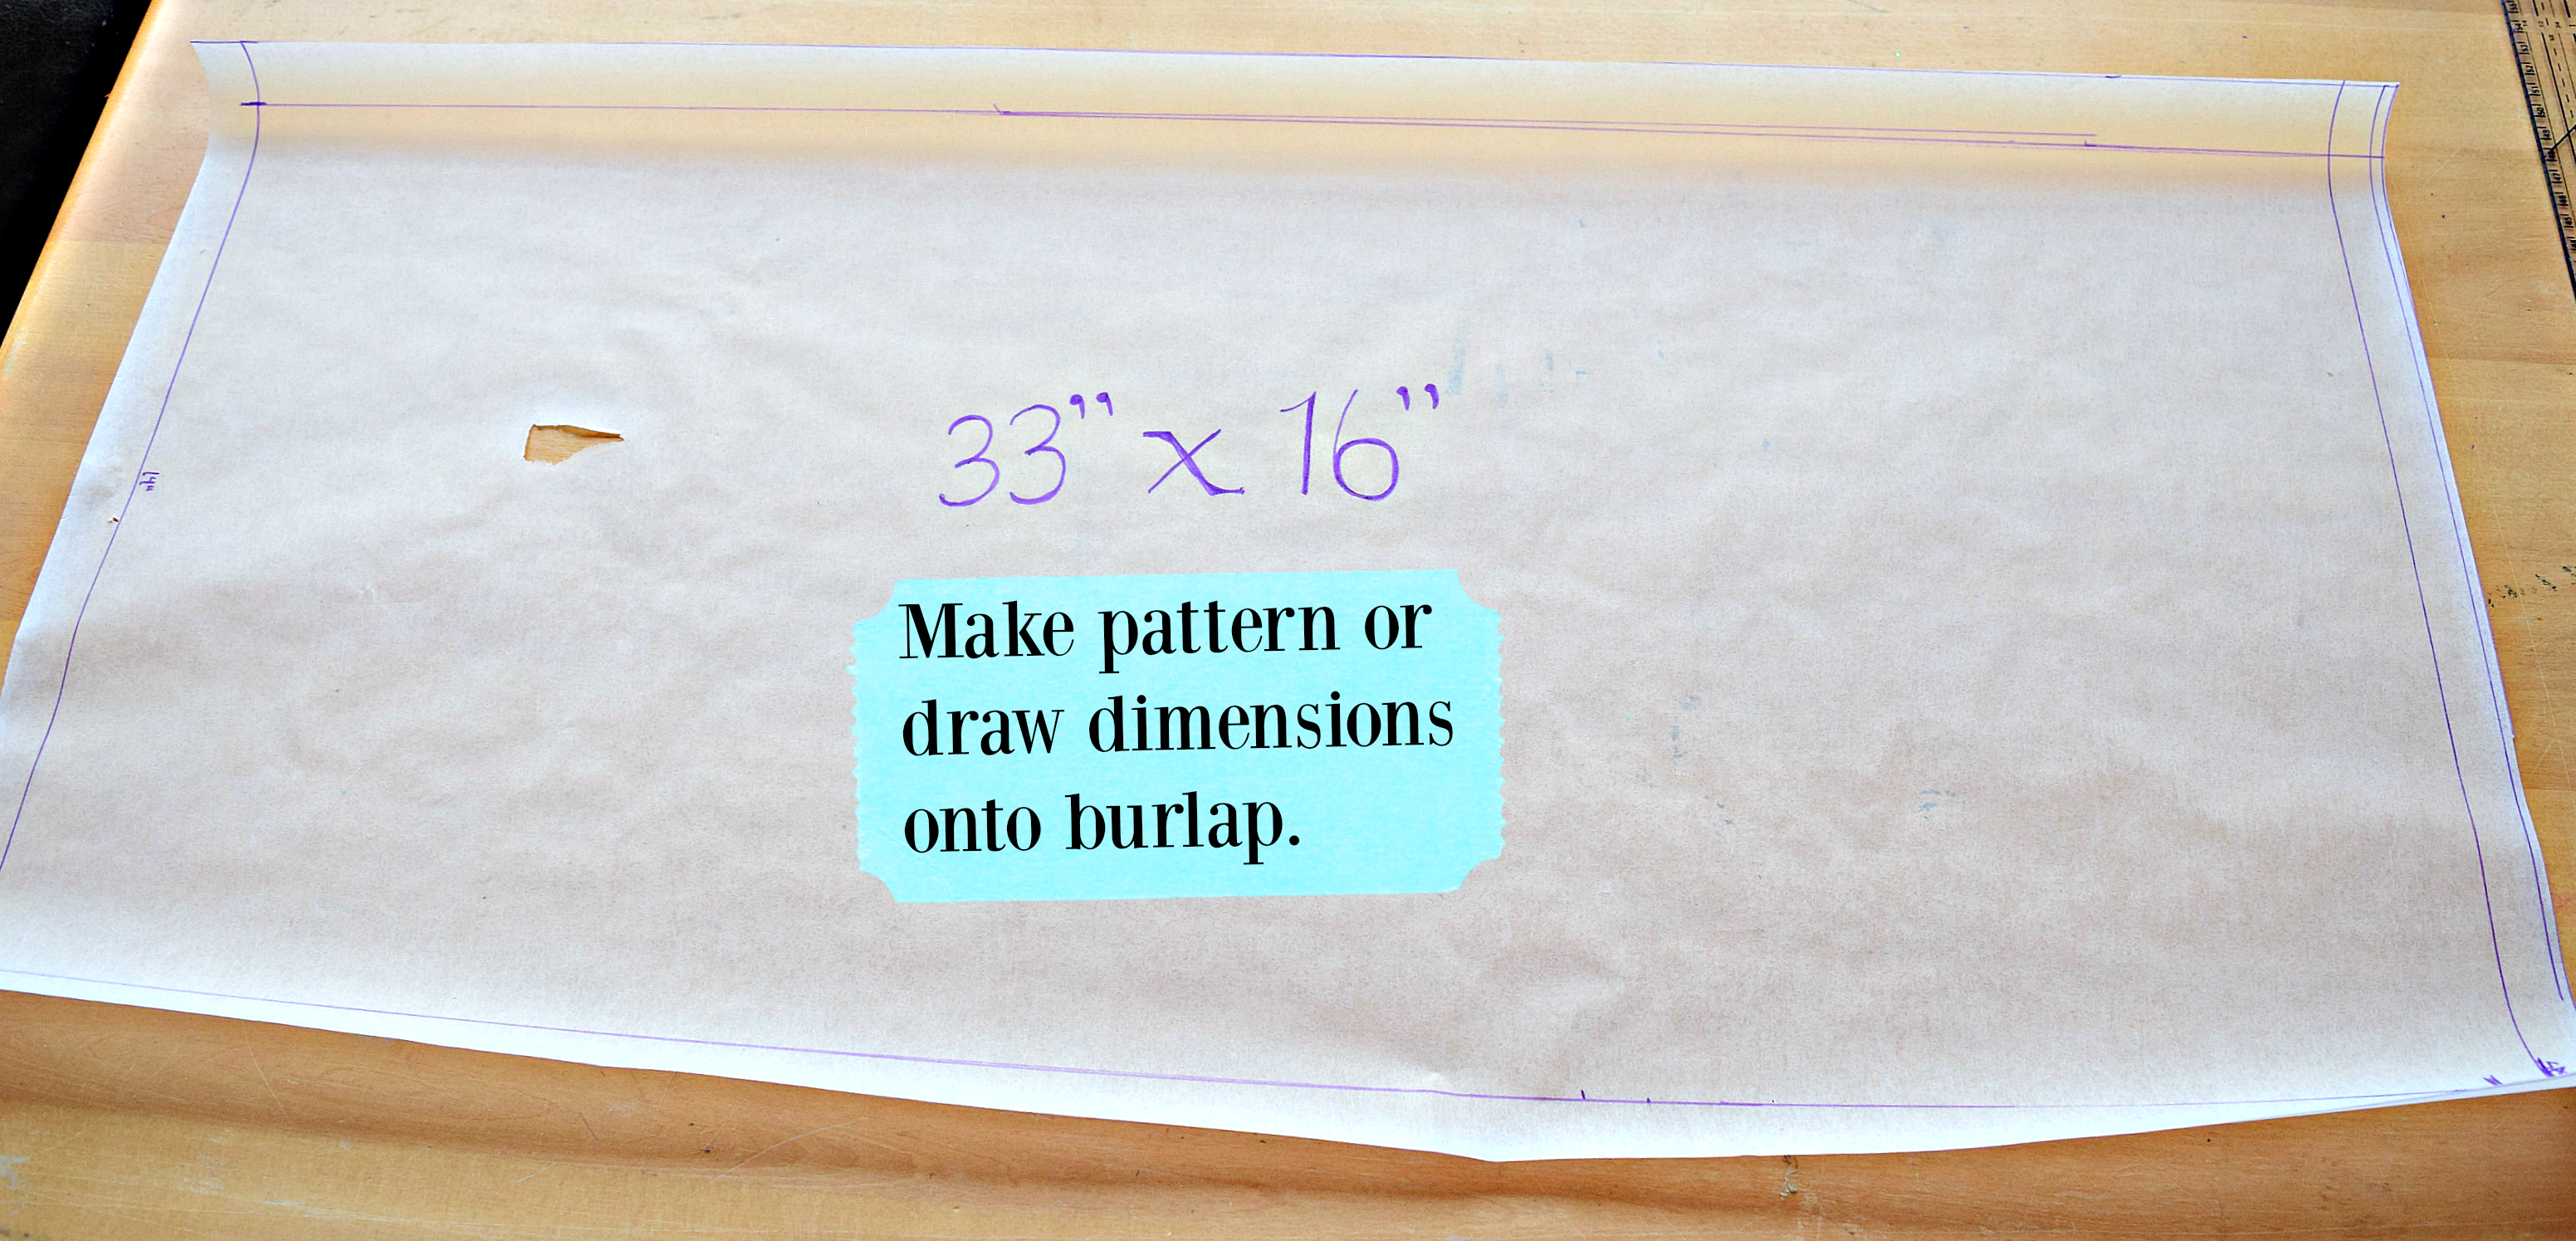
Next, you just ad seam allowance. In this case I added just under an inch of seam allowance to all edges which gave me a final measurement of a 33×16″ rectangle.
Cut Out a 33×16″ Rectangle
Tape and Paint
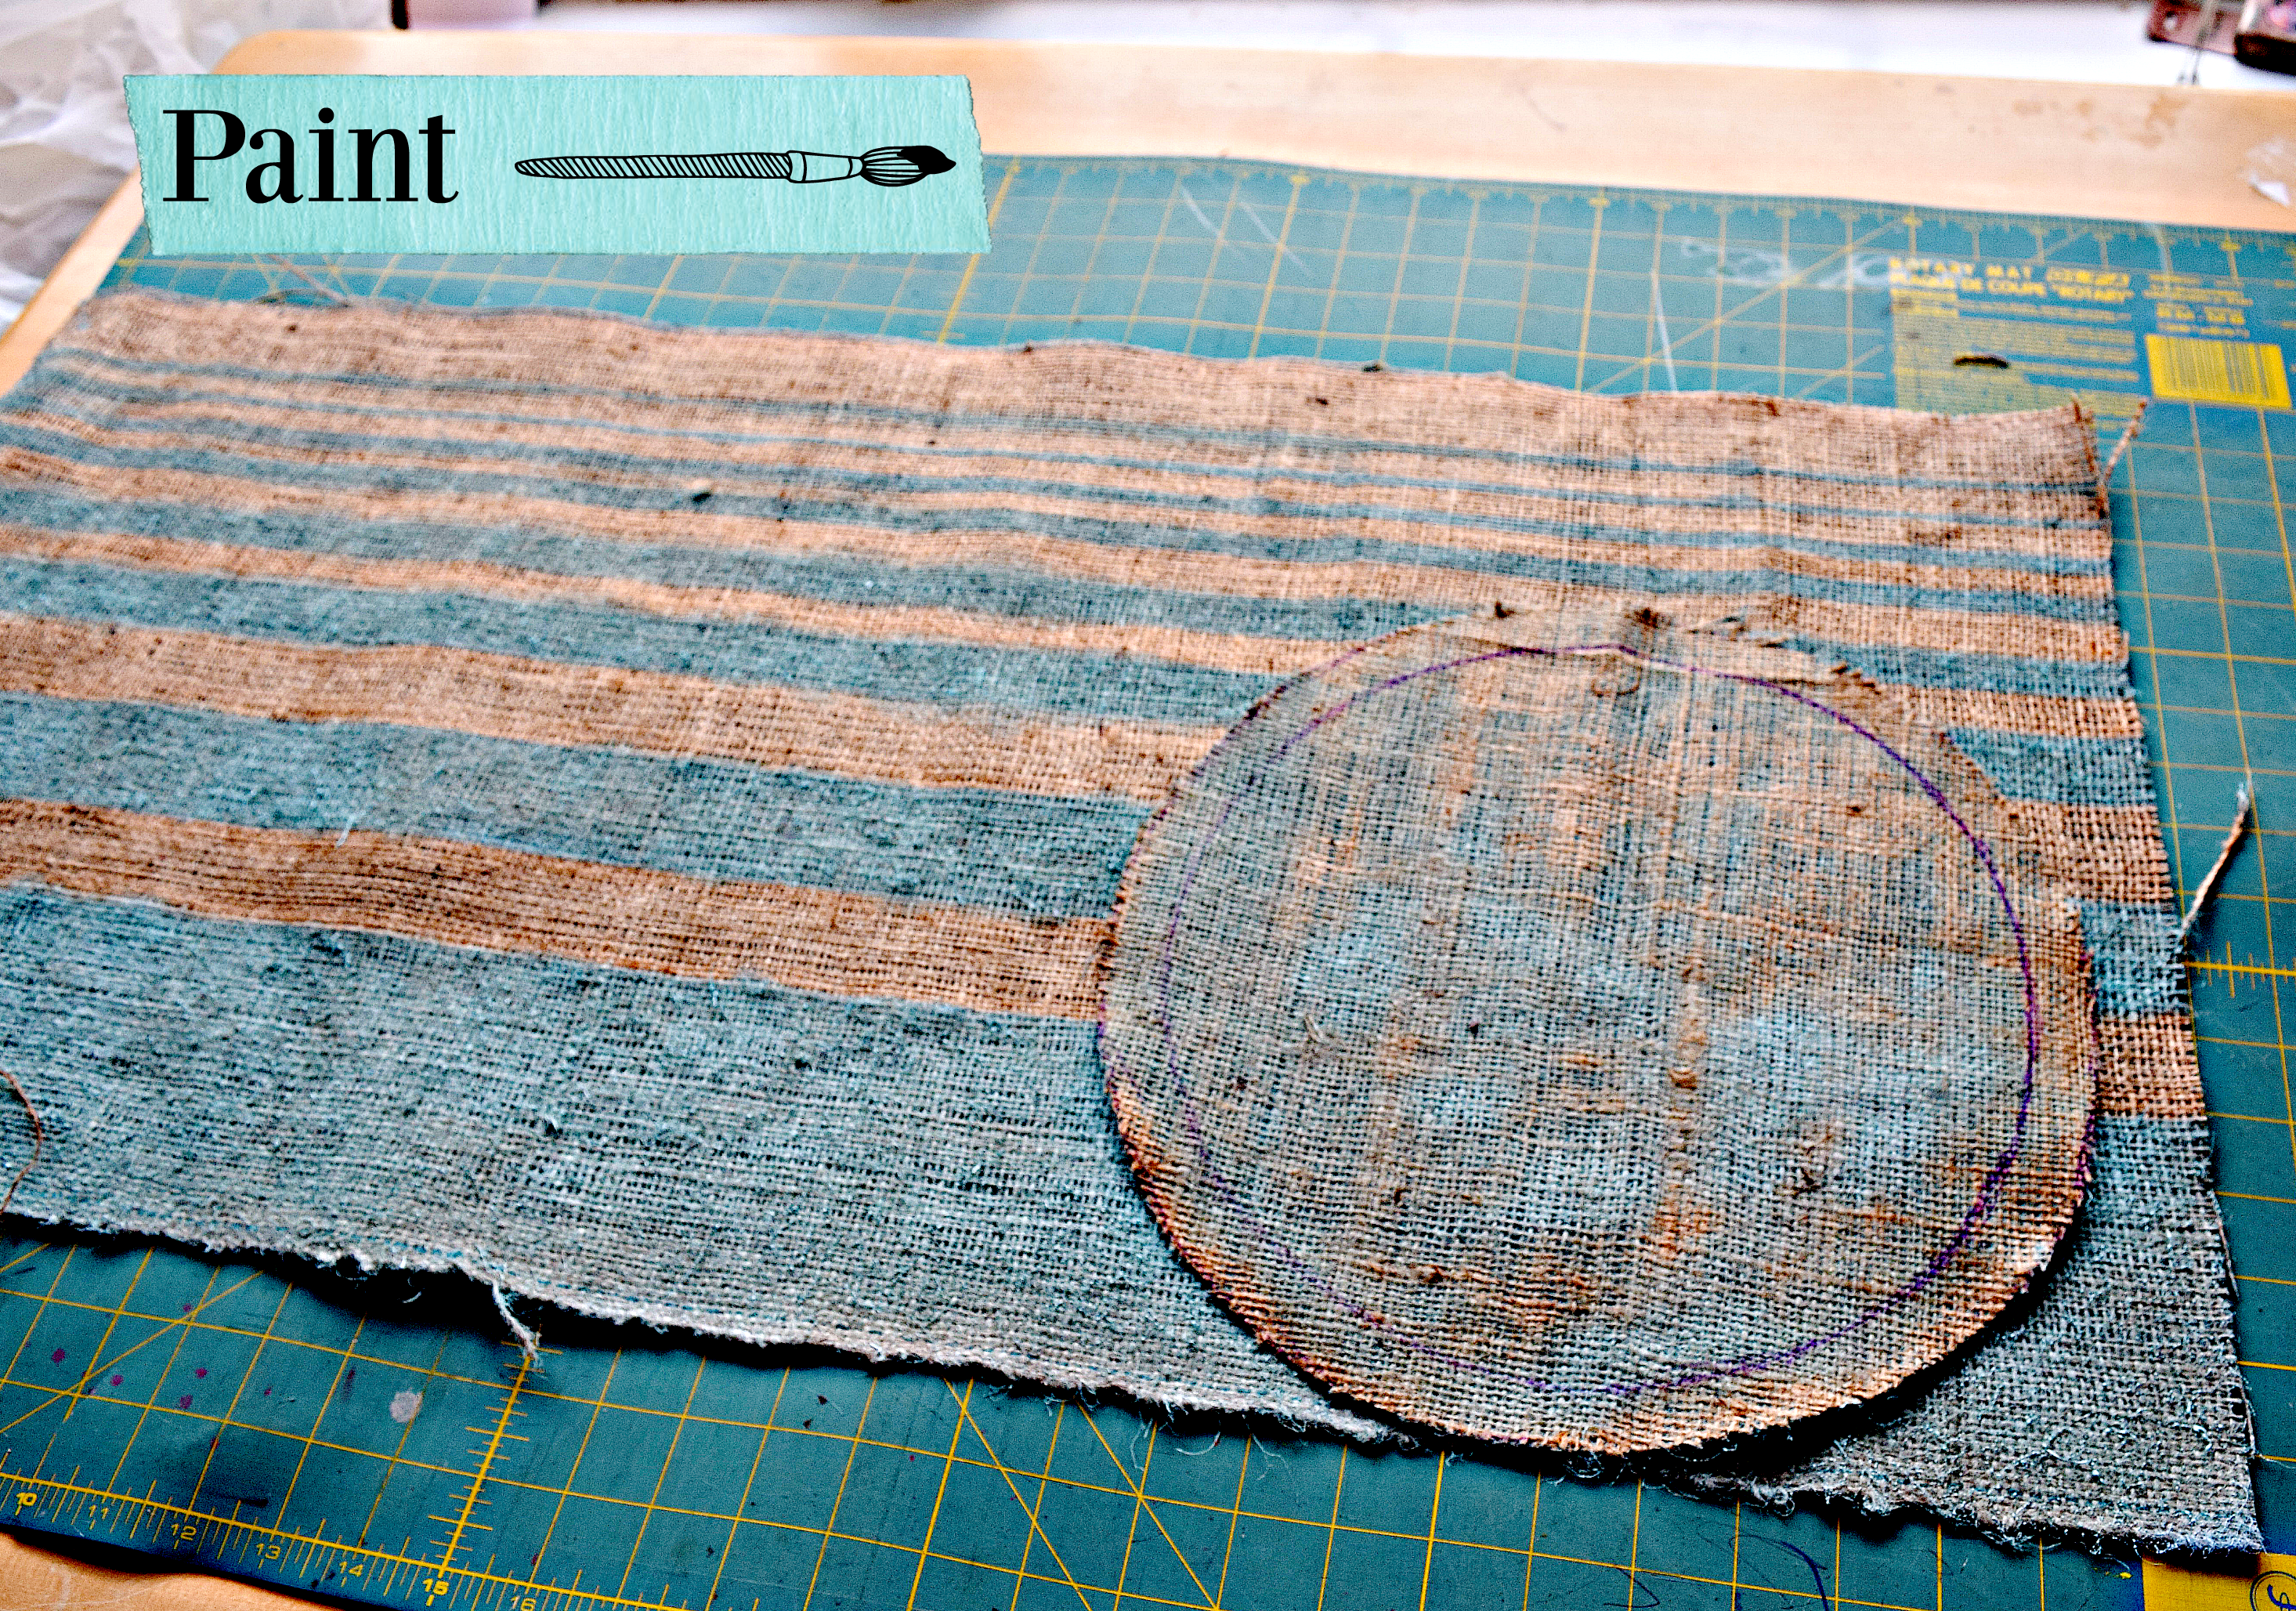
DRY OUT COMPLETELY BEFORE SEWING, YOU DON’T WANT TO GUNK UP YOUT MACHINE
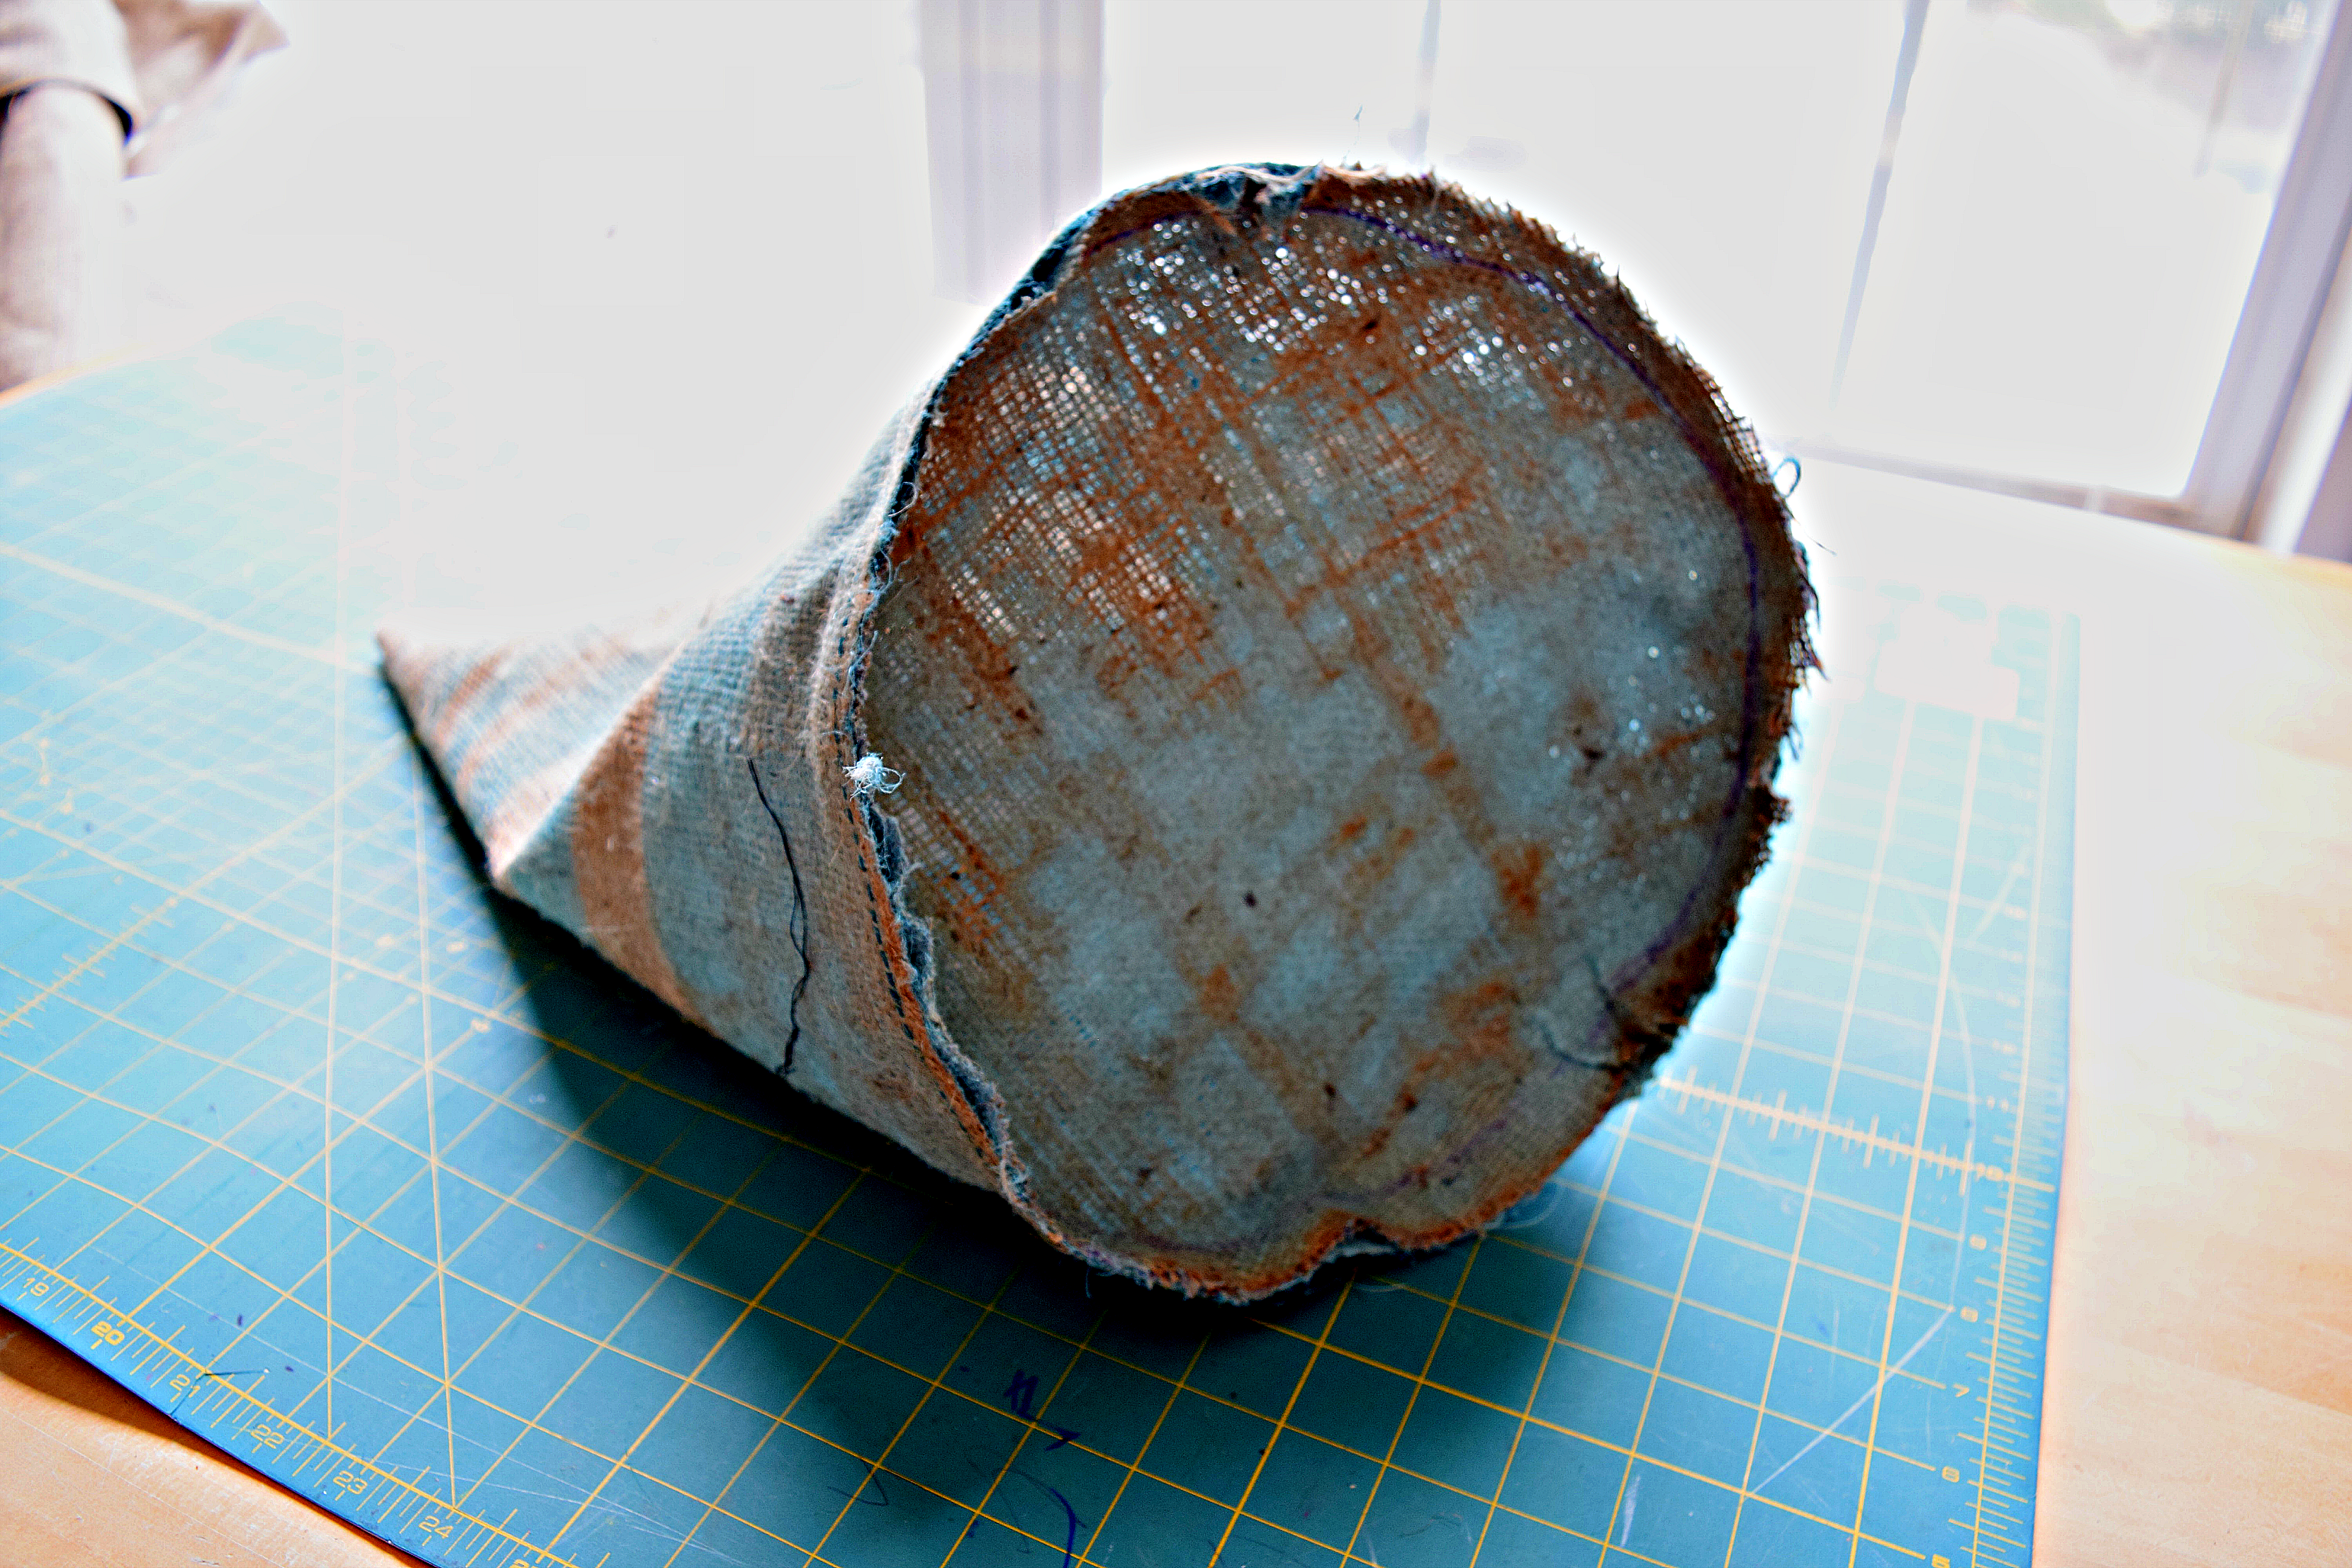
Once paint is completely dry, sew the 33″ edge of the rectangle around the circle. Start sewing about 3 inches in so that you can, later, sew the two 16″ edges together.
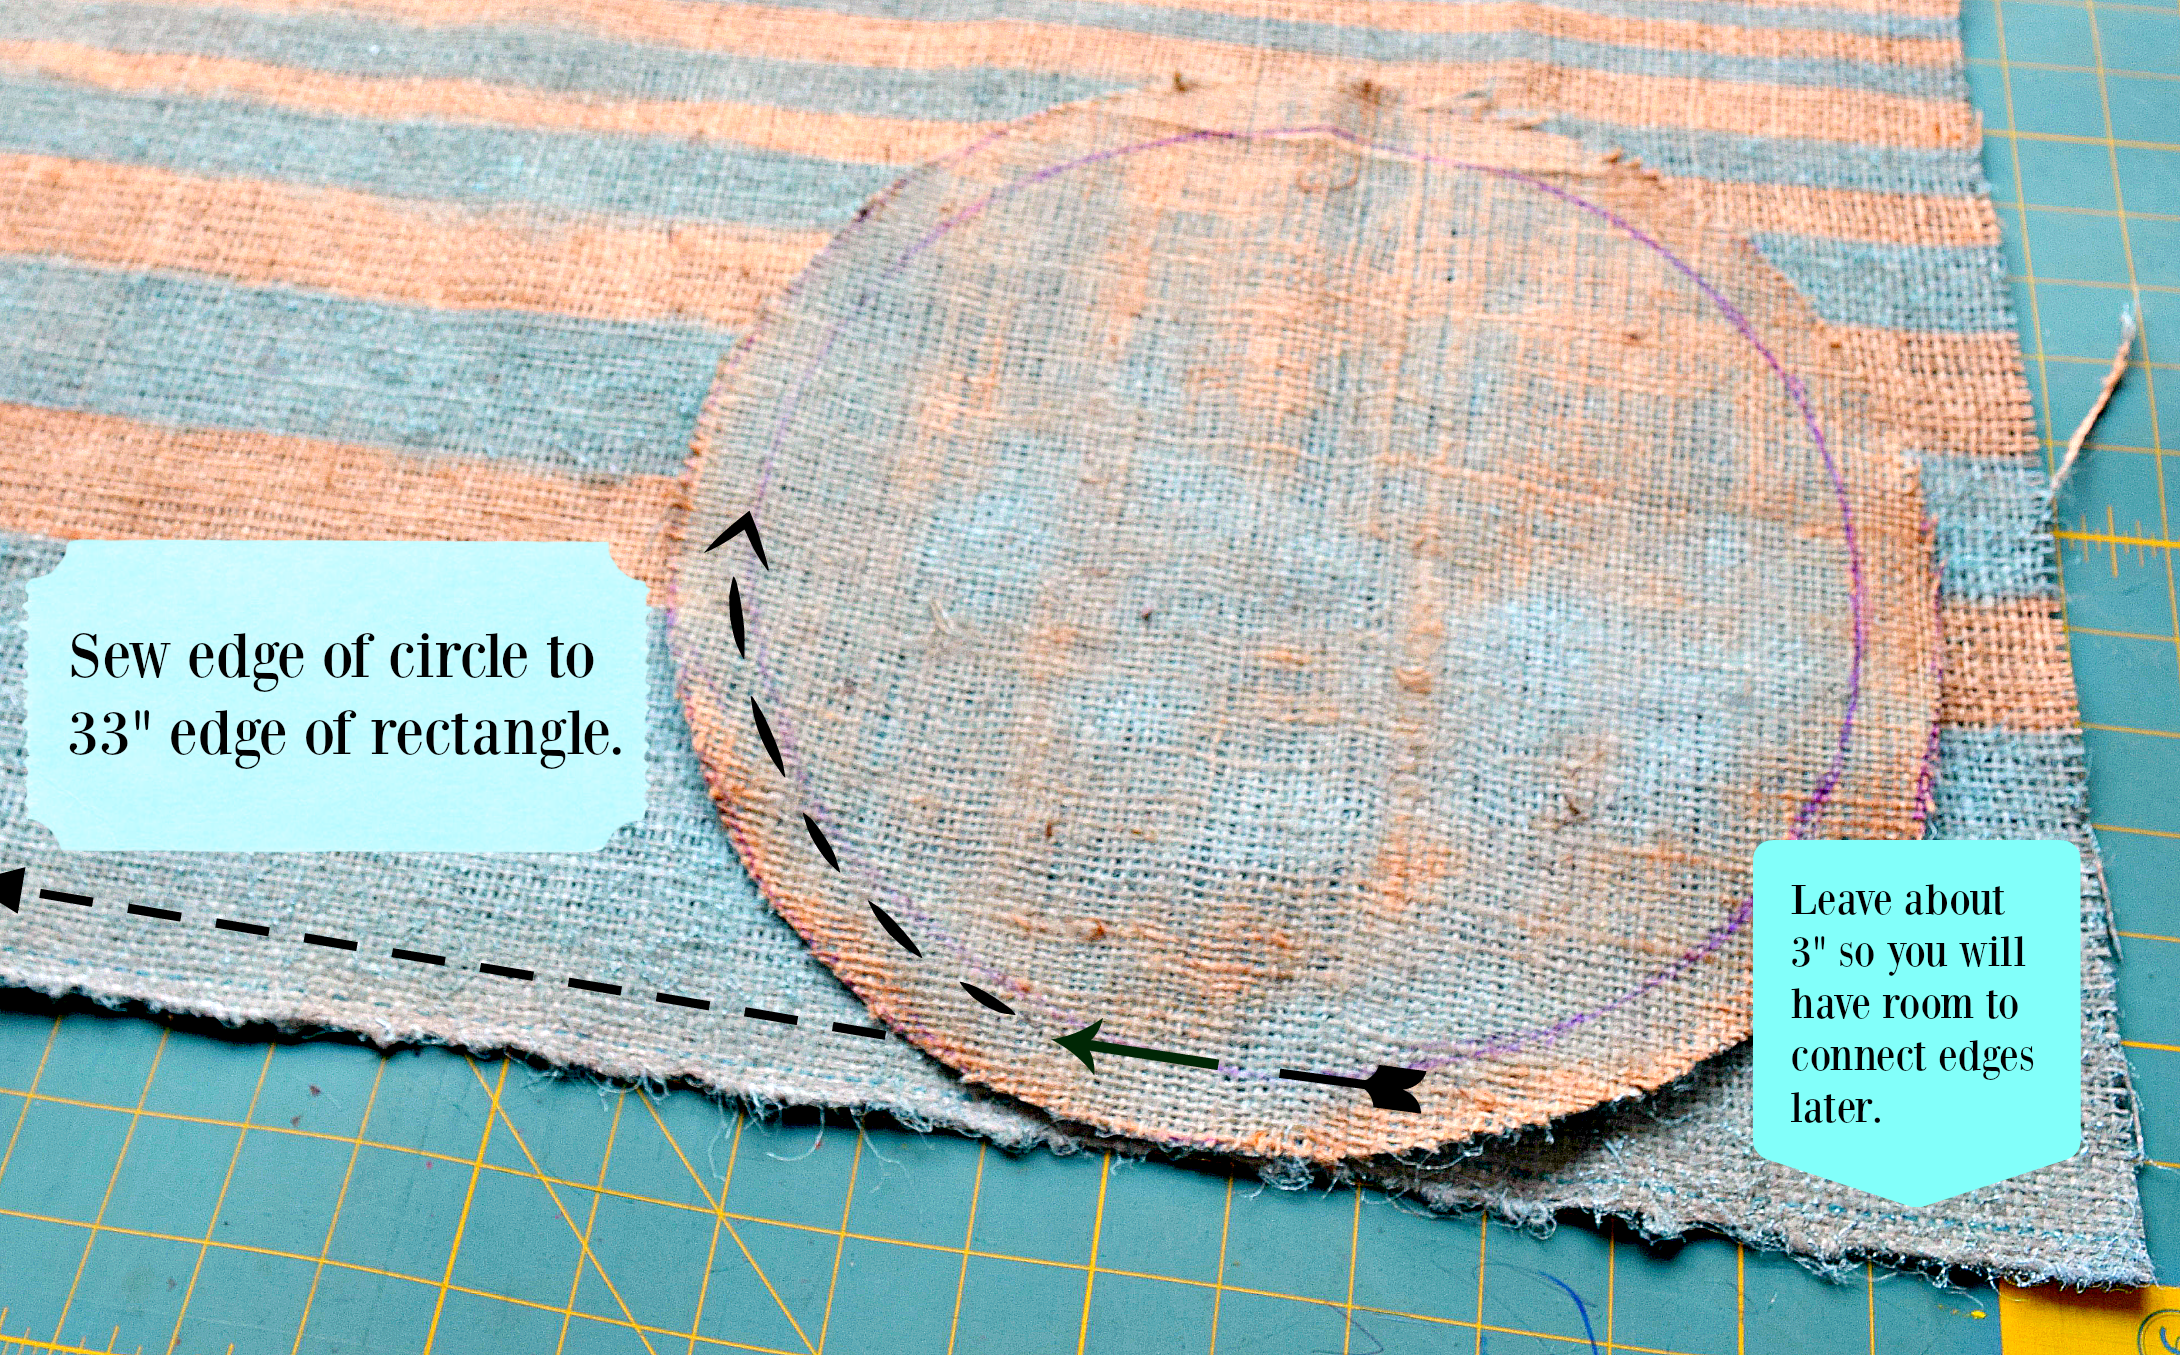
It will look like this…
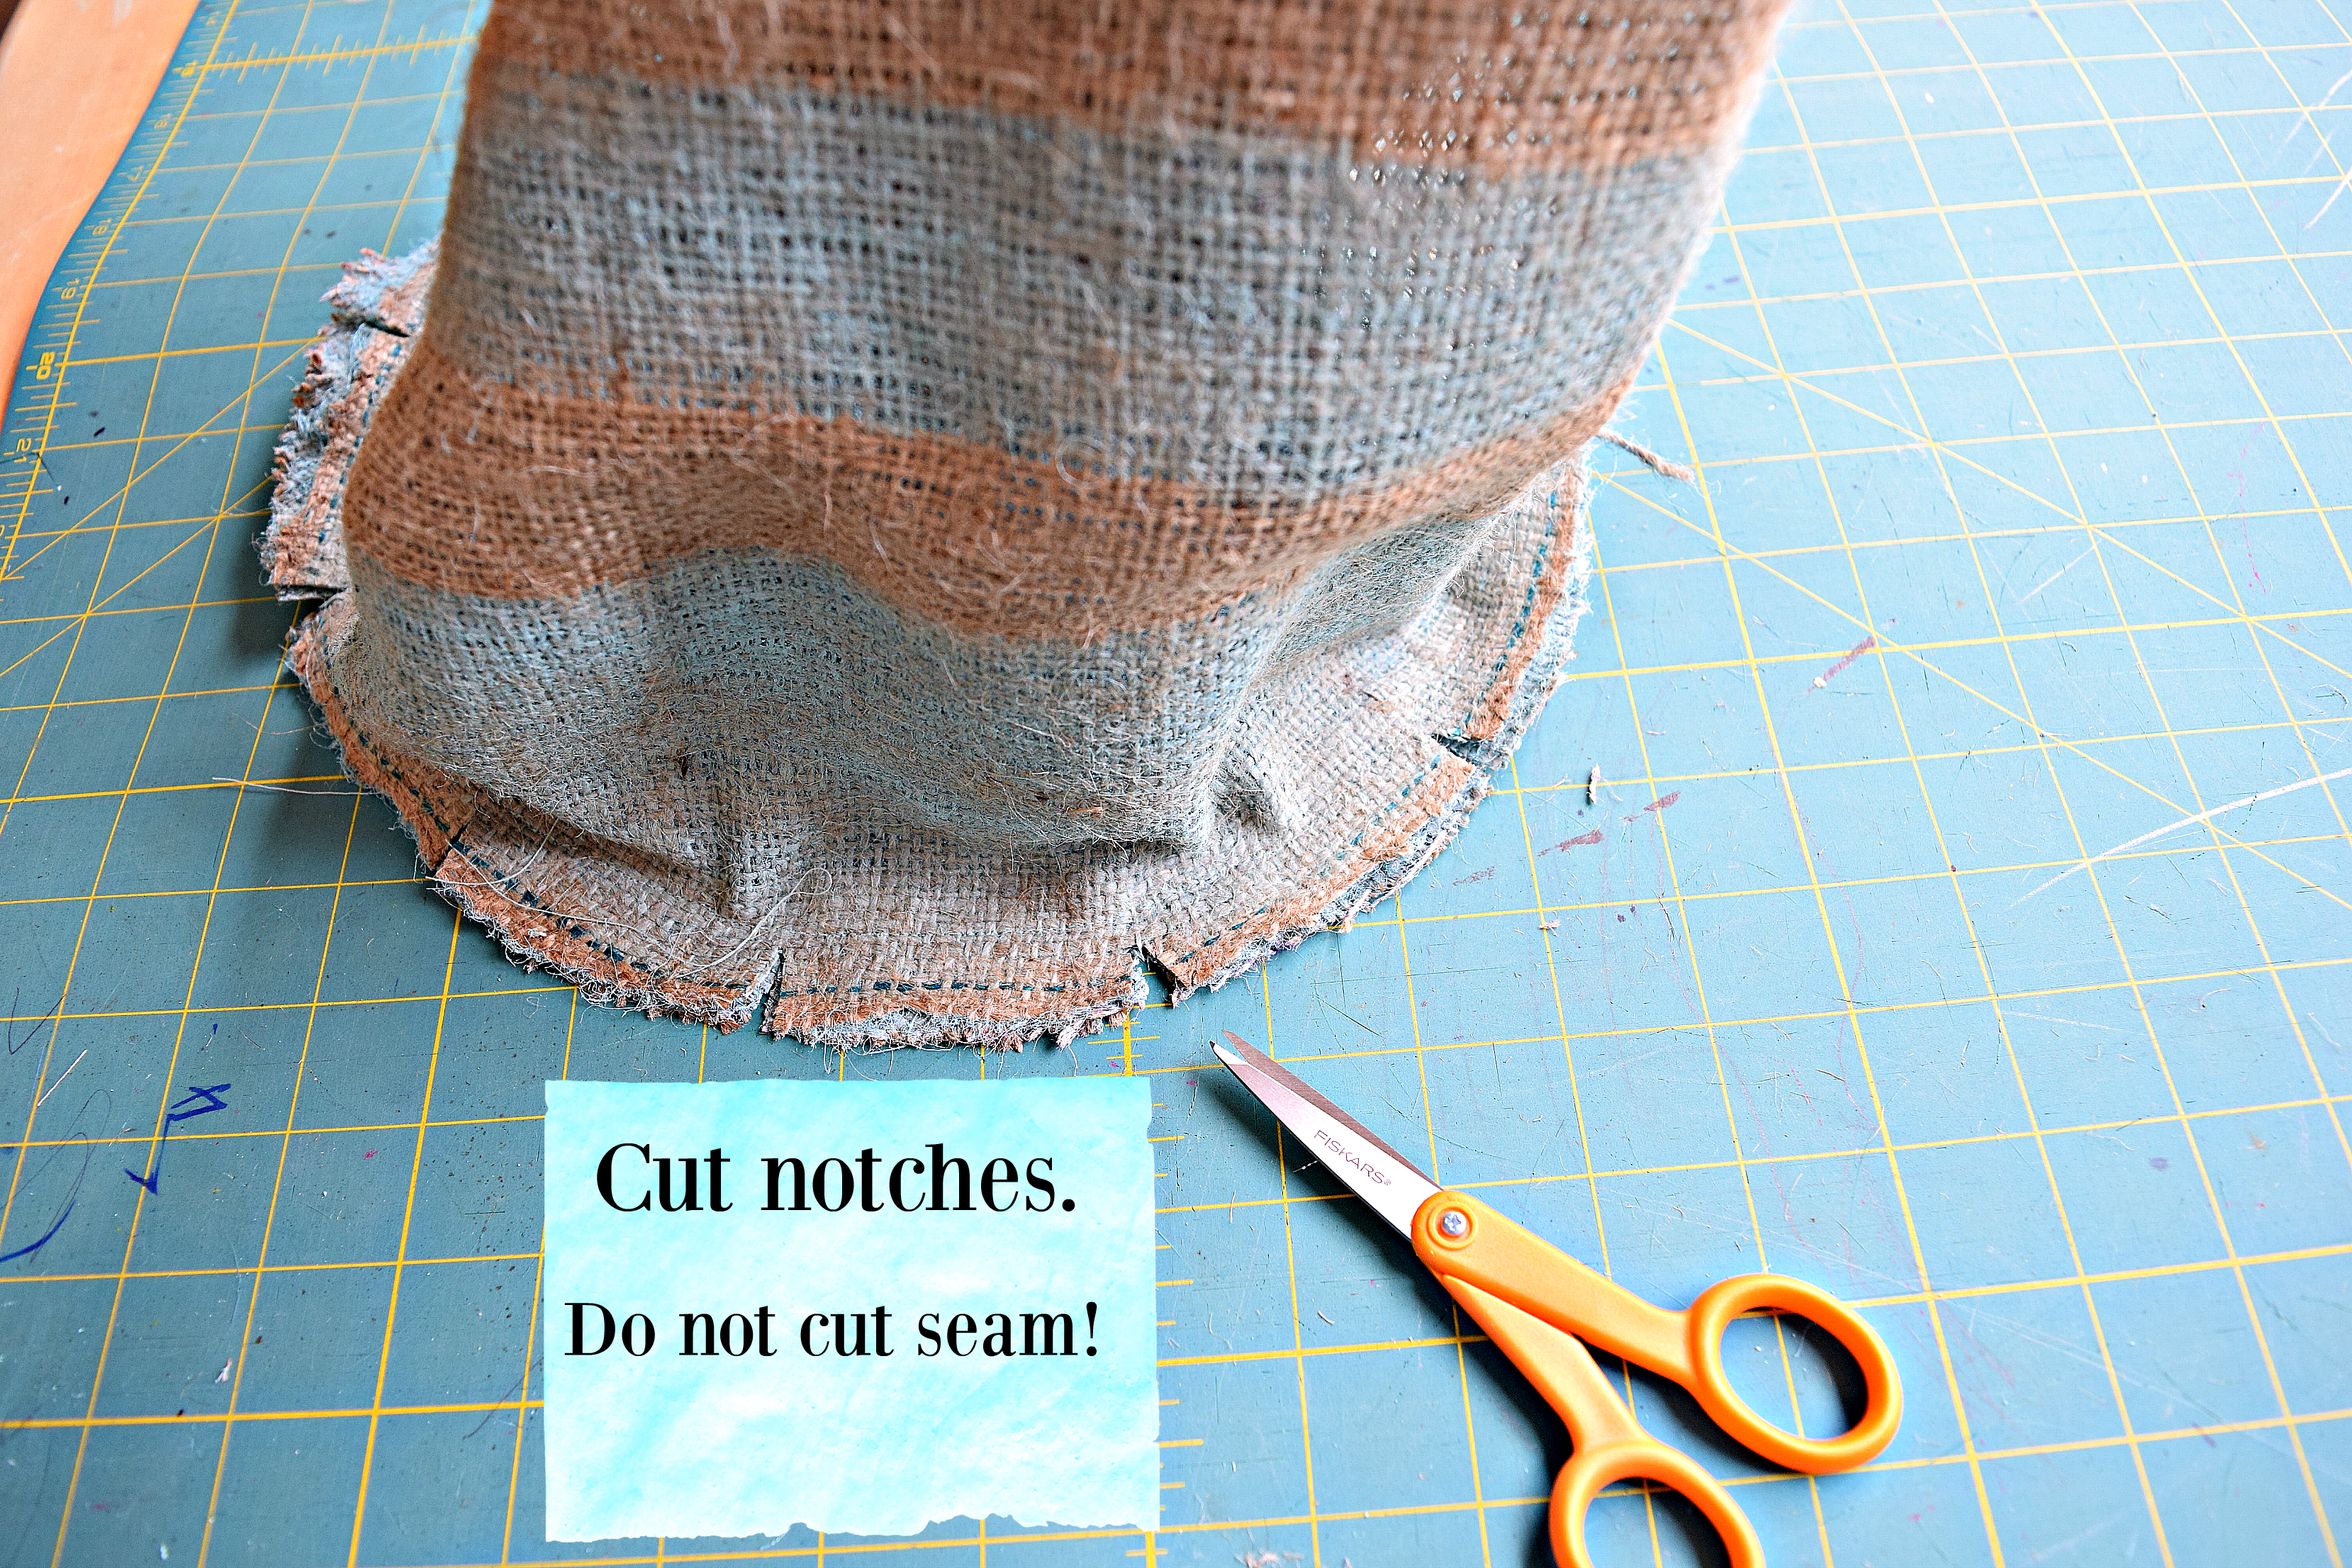
Cut notches around the bottom of the planter. DO NOT CUT SEAM!
This will allow flexibility in the seam allowance when you turn the planter right side out.
(Note: in the photo below the dashed line is the selvage edge NOT the stitching. You can’t see the stitching in this photo but I DID NOT CUT the stitching as that will put holes in the bottom of your planter.)
Flip it right-side-out and begin to pin the top edge inward around ring.
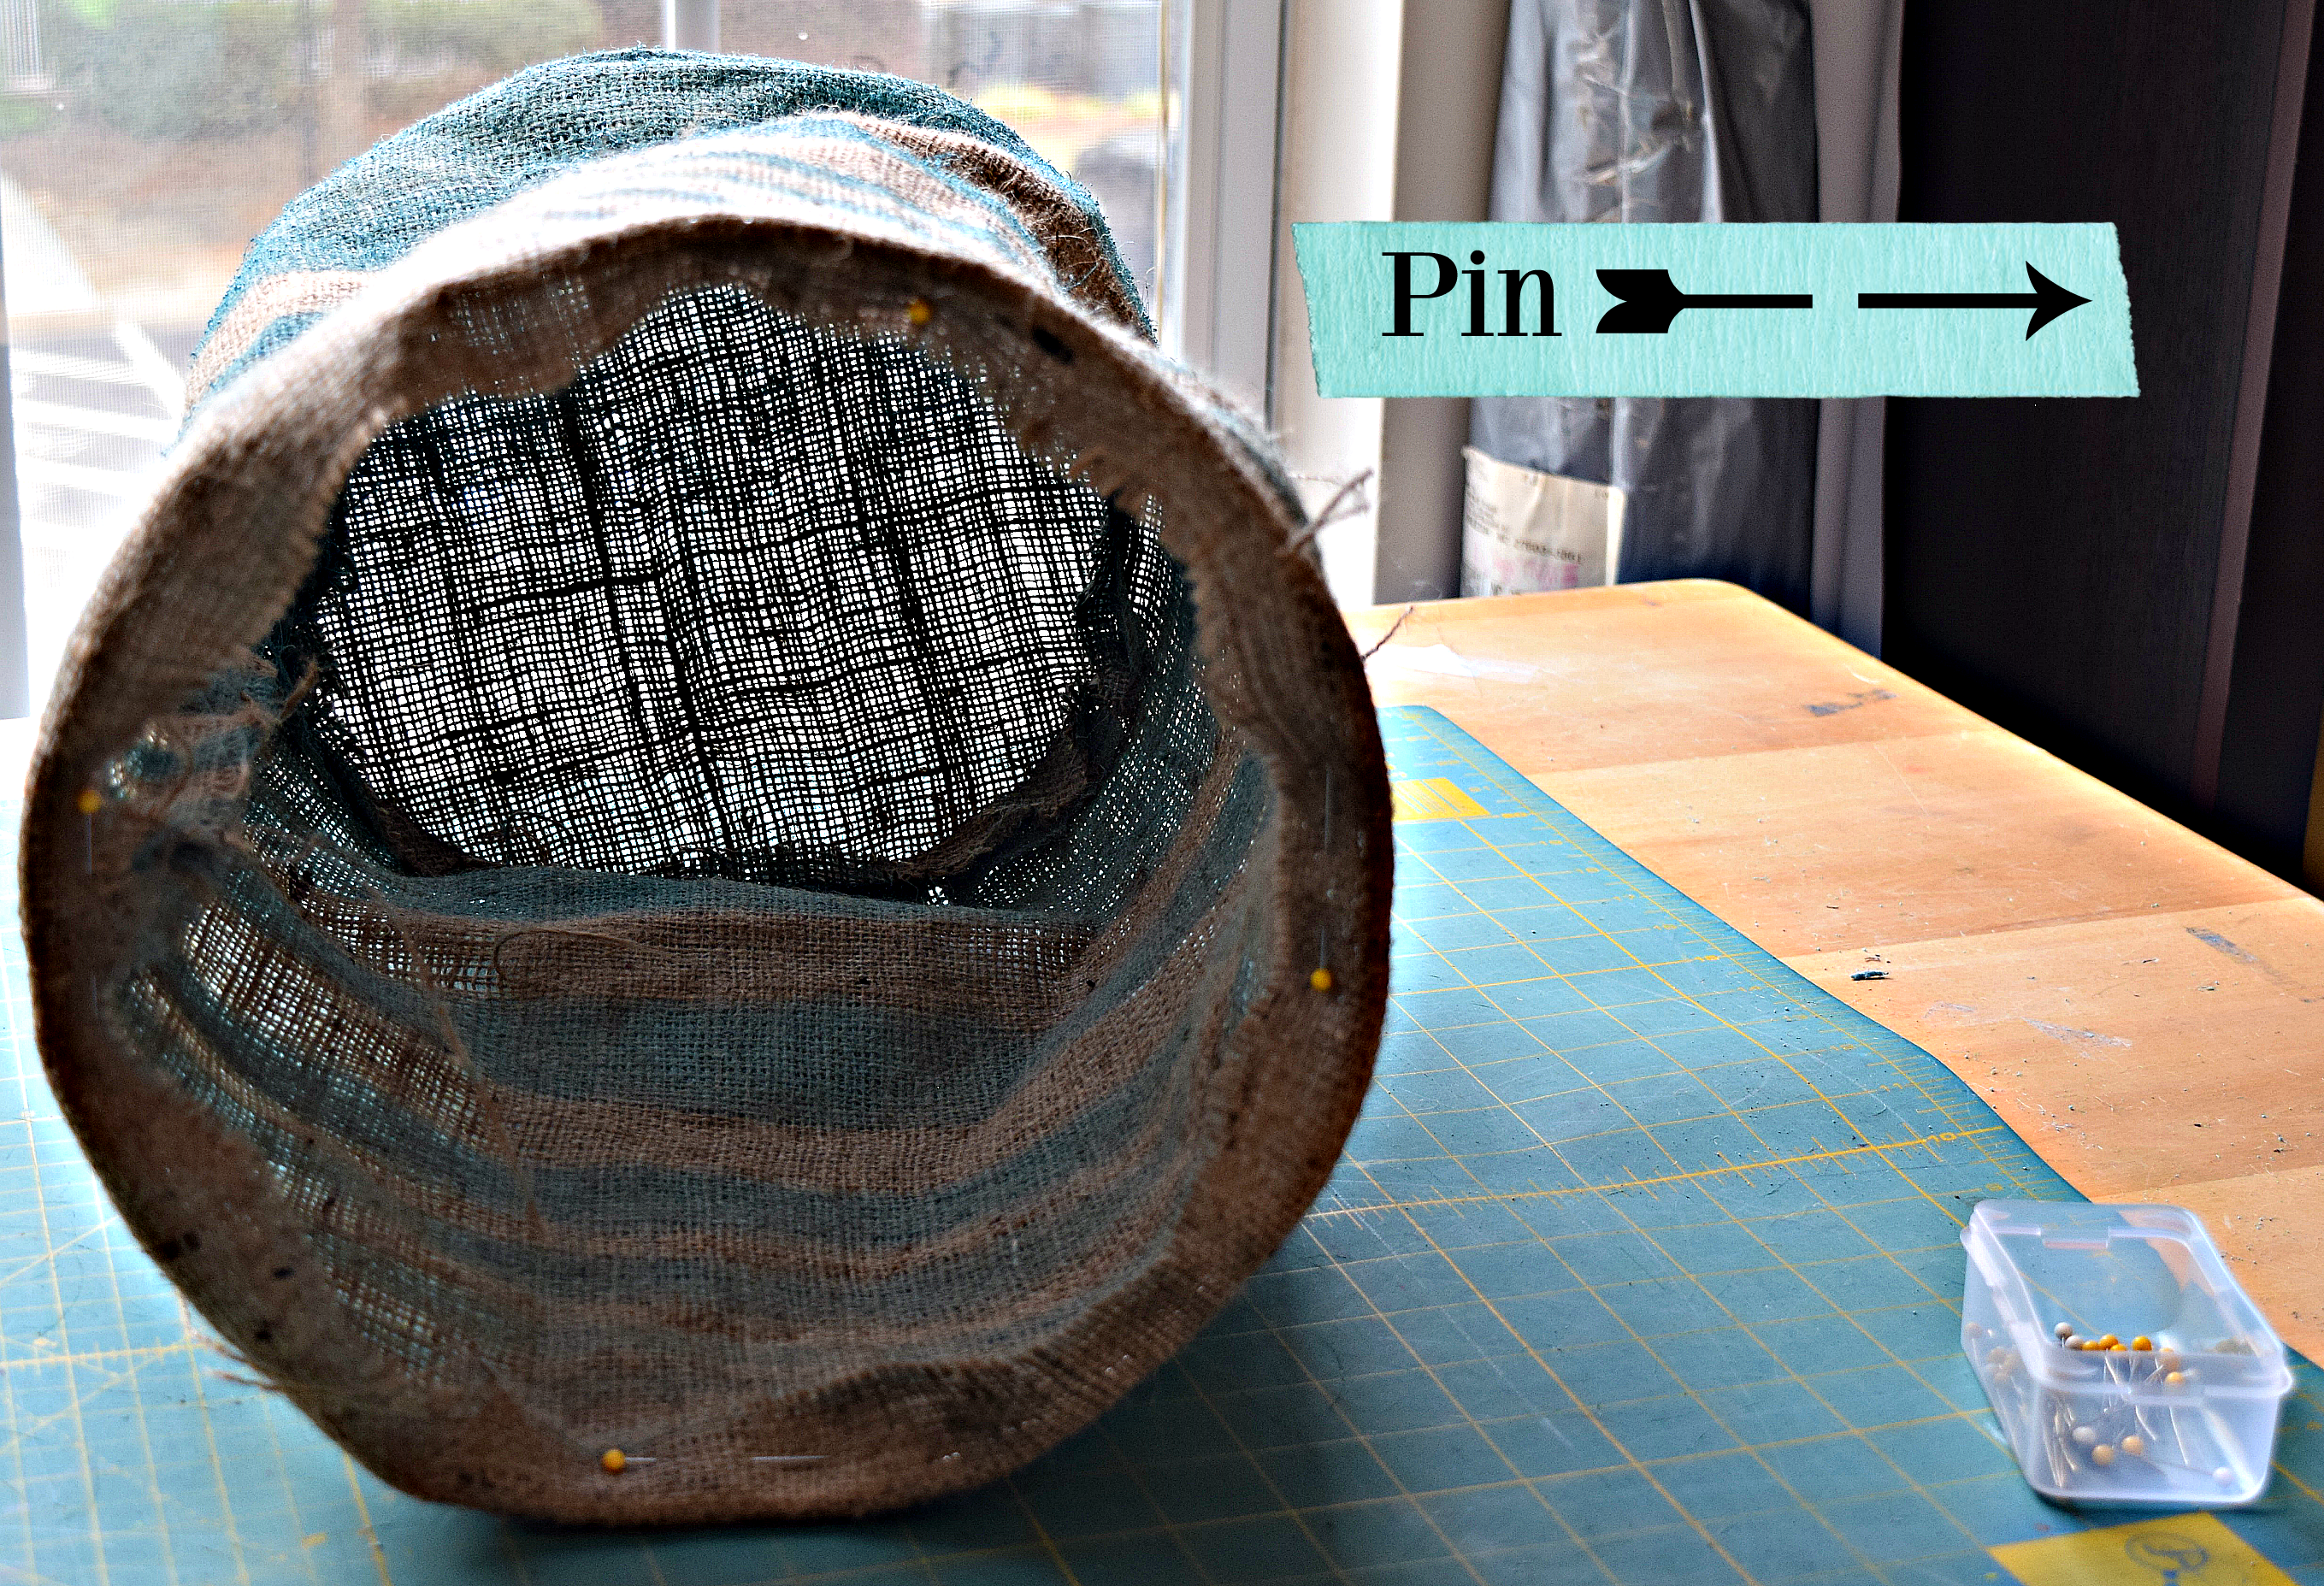
Sew around edge where pins are.
At this point you can add the grommets if you want or you can wait ’til the very end.
Follow the manufacturer’s instructions that come with the grommets. Place 3 grommets equidistant from each other around the top of your planter just below the ring you sewed in.
Next put the pockets in. You can do this step before you sew the rectangle to the circle but I like to wait until after to make sure the placement looks right.
This next step is just an example. To put a pocket on your planter cut about a 5×5″ square out of burlap.
Draw a half circle on your 5×5″ square.
Place that on your planter where you want your pocket and pin it in place.
Sew directly on the drawing all the way around and back-stitch to tie off.
Sew in Pockets For Plants to Grow Through
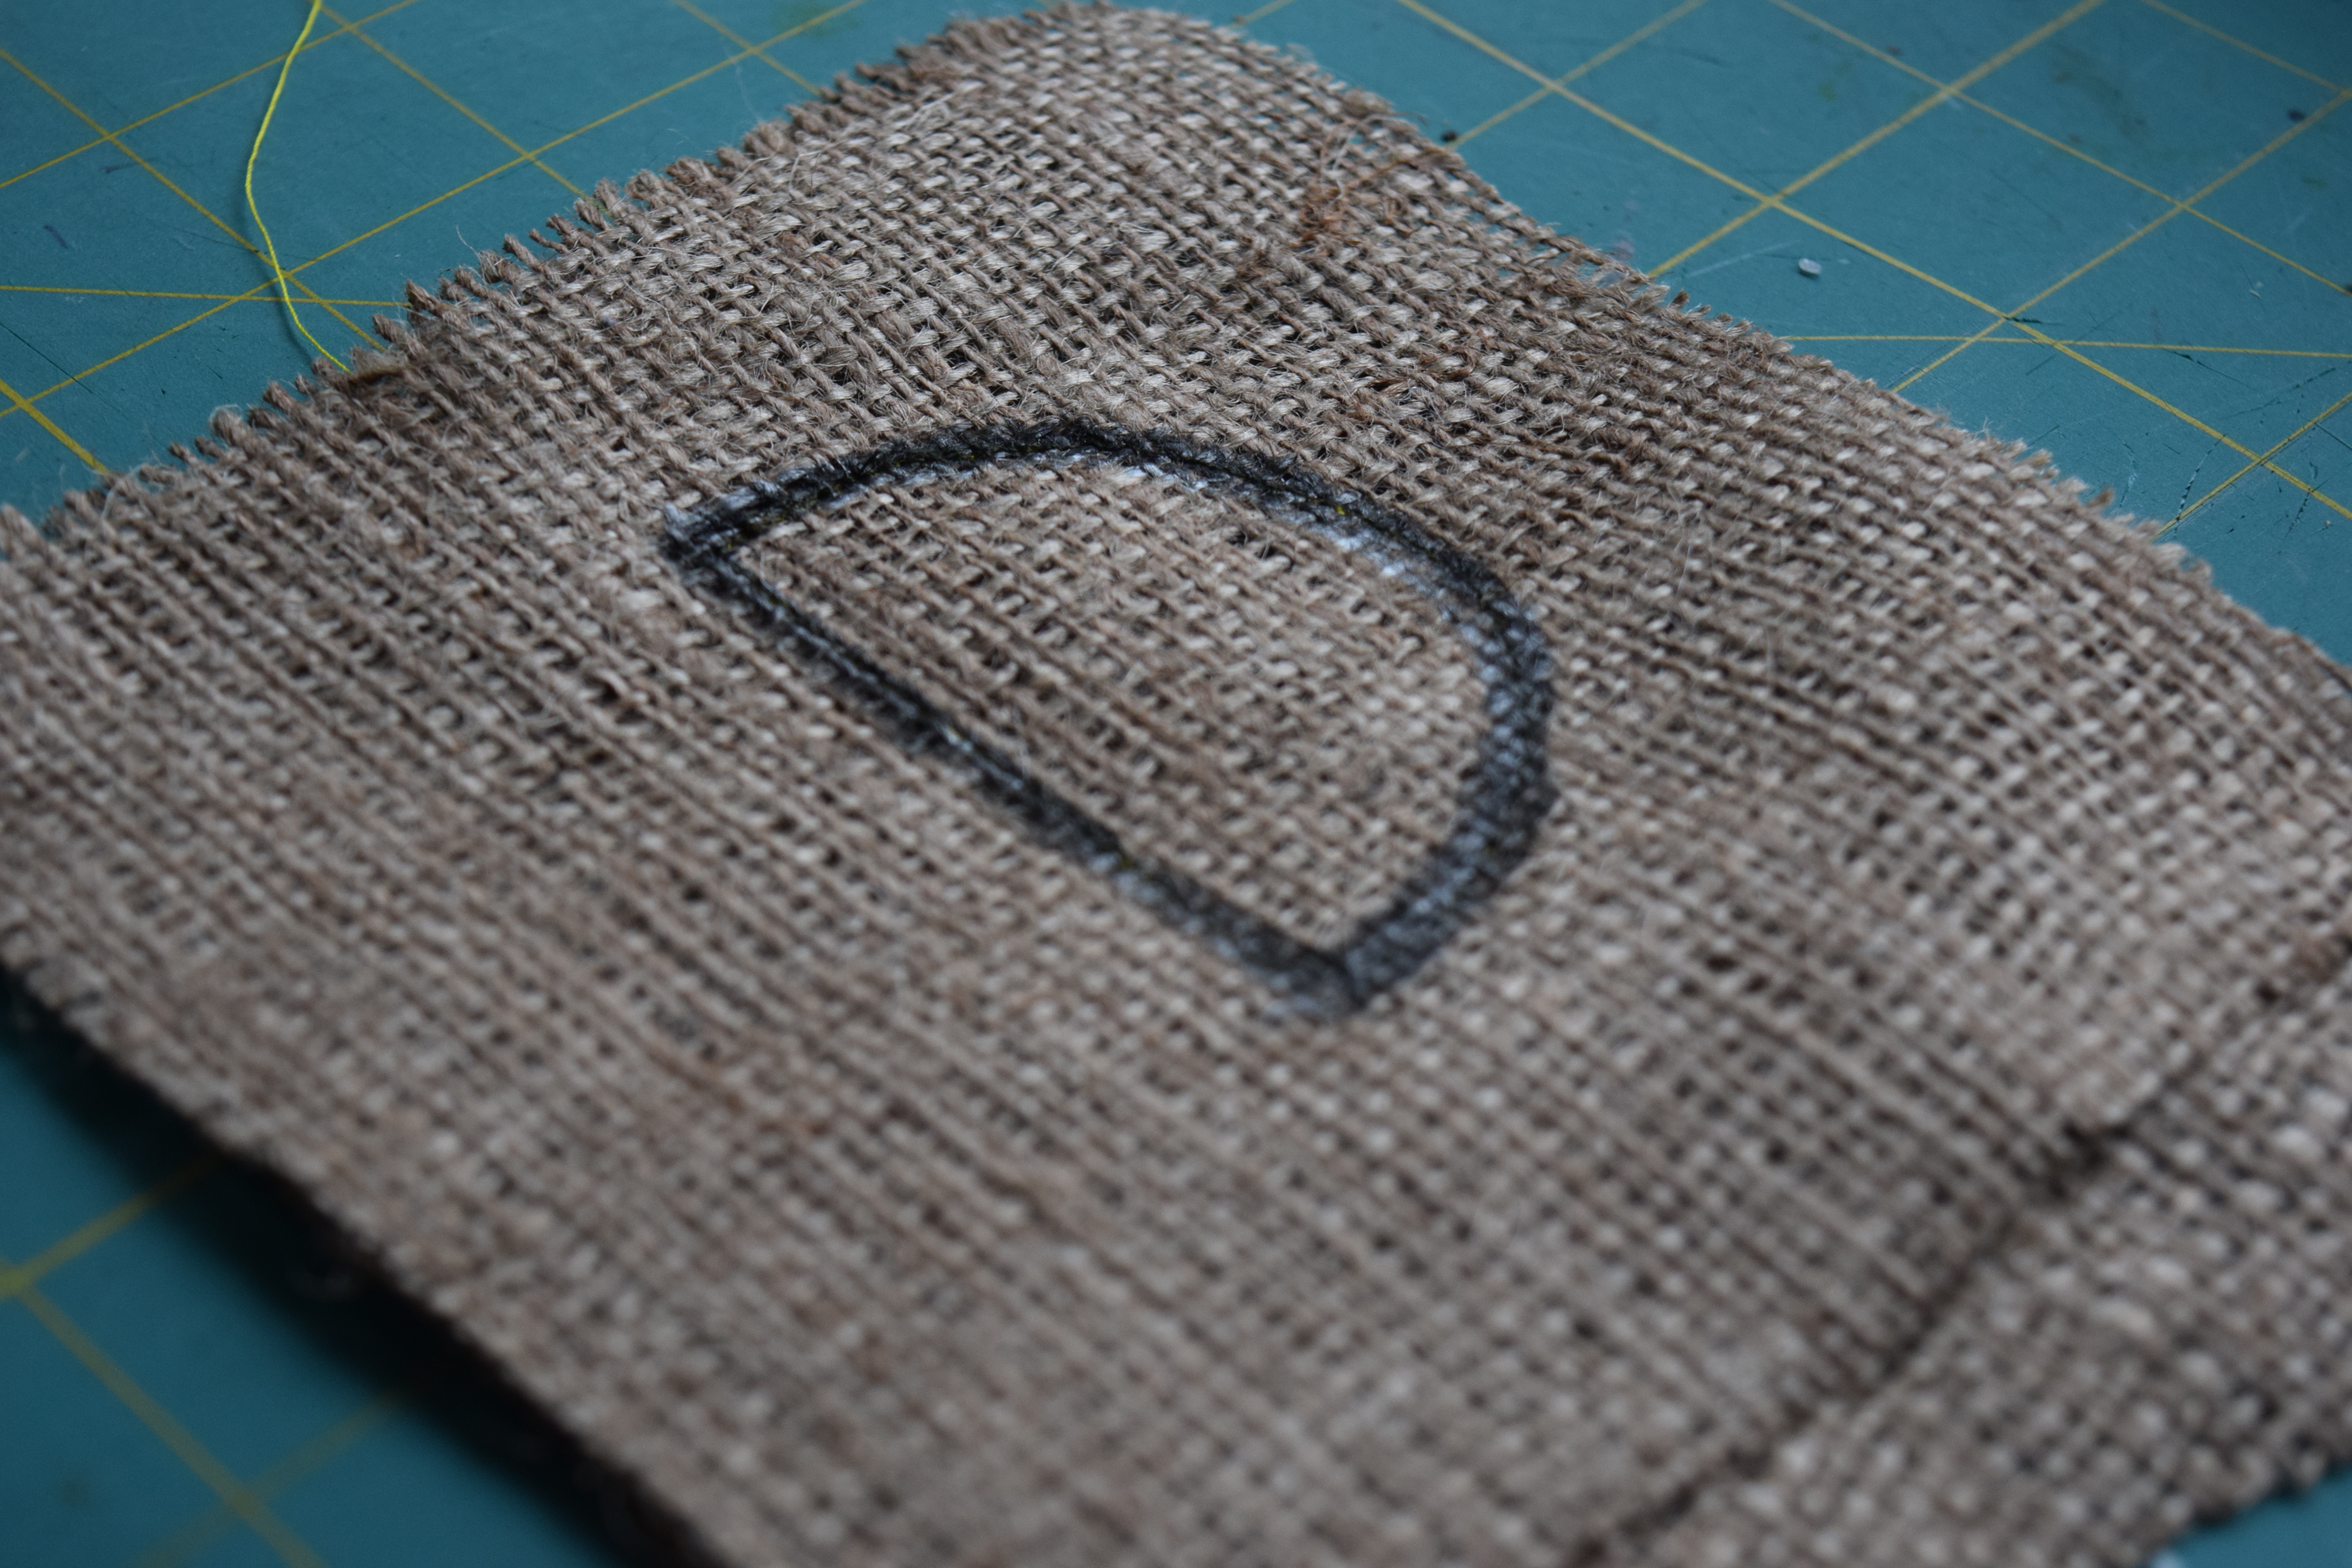
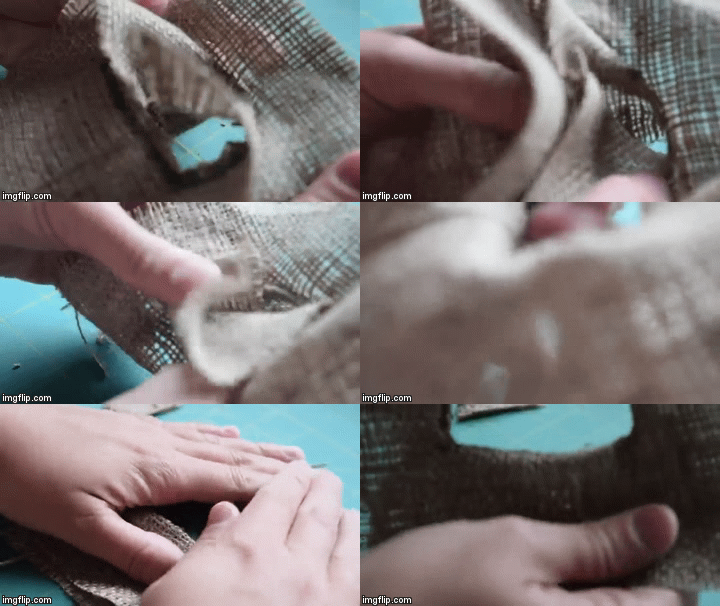
Next, cut inside making sure you don’t cut the stitching.
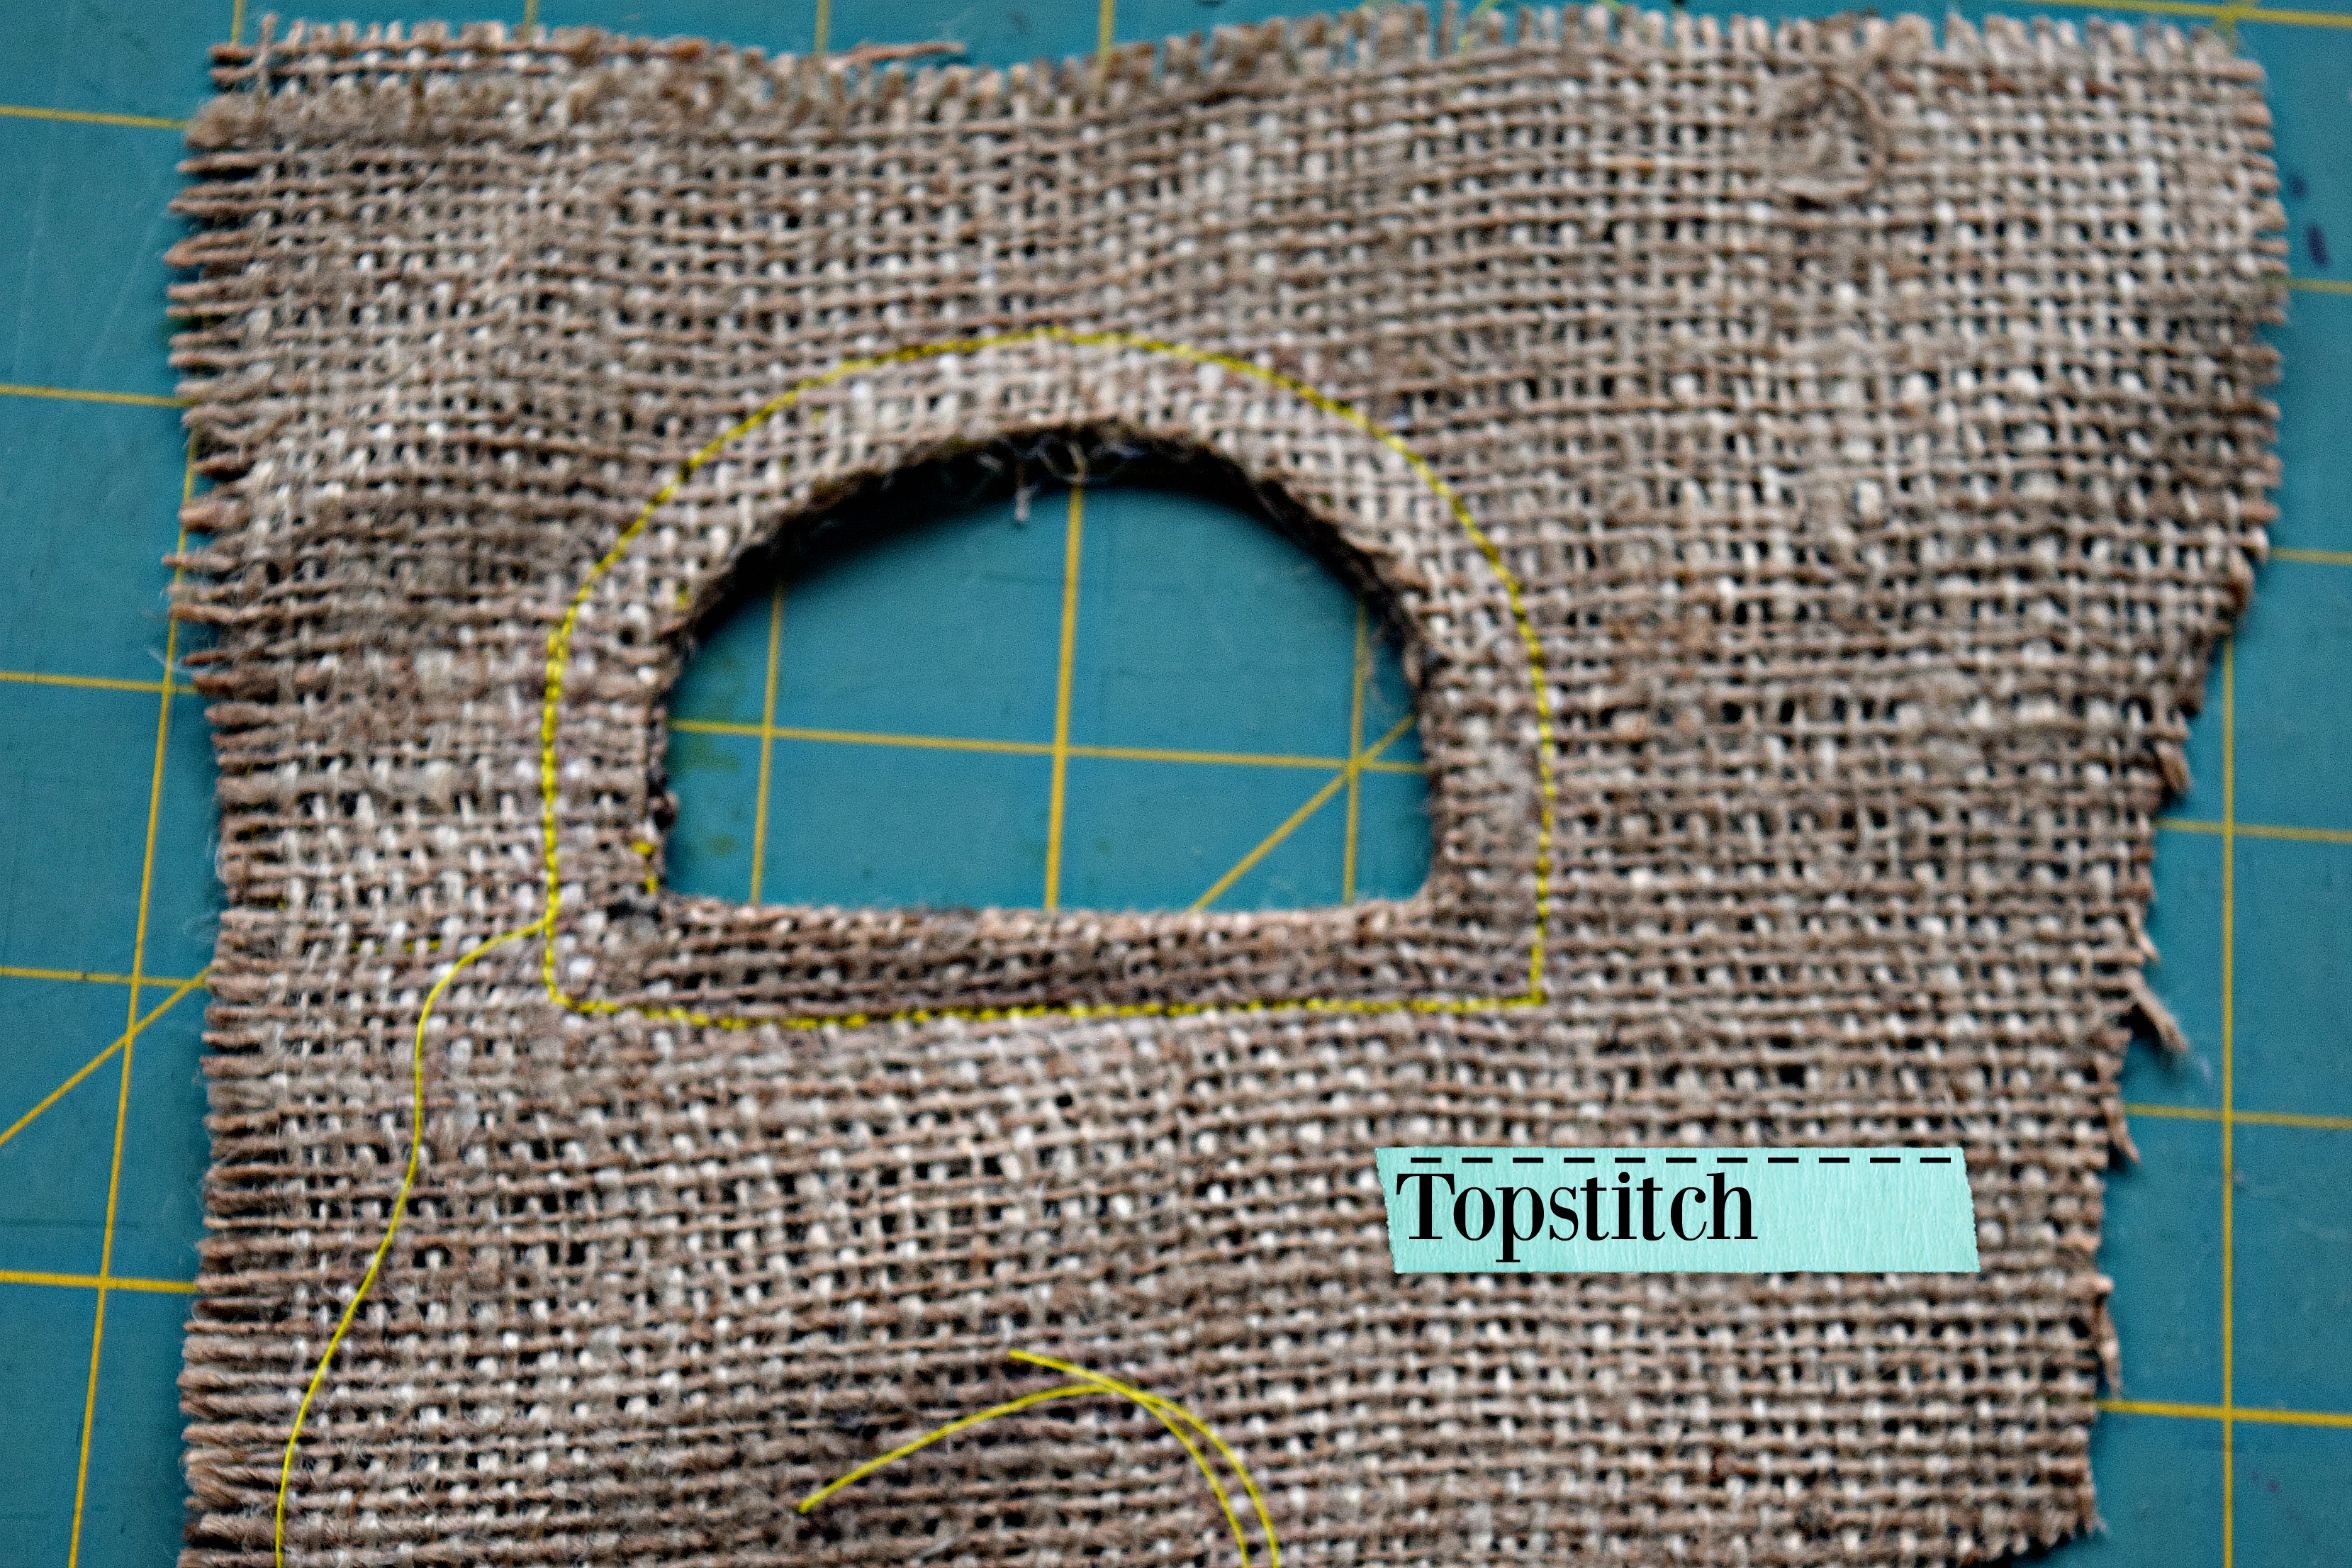
Flip the 5×5″ square in through the hole so that it is hidden inside the planter and you are left with a nice half-circle pocket in the side of your planter.
Top stitch around pocket to secure it.
All you need to do now is add your jute! I cut three equal length of rope. Put each piece through a grommet and tied it. Then, I connected the three ropes and tied them to create the tripod affect. I braided and tied off the ends. To hang it I simply looped the braided portion around a hook in the ceiling.

Tip: Water frequently as burlap allows a lot of air flow and plants dry out quickly. I water daily and have no problem.
If you live in a very dry climate or don’t have time to water that frequently you can make a liner out of a felt backed table cloth using the pattern in this tutorial. Face the plastic side of the liner toward the dirt and the felt toward the burlap.

